
How to Use Organic Fertilizer in the Garden
Using organic fertilizer well means matching the product to your soil and crop, then putting a measured amount in the right place. Organic does not mean harmless. Strength varies a lot from one product to the next, and too much can still injure plants or wash off as runoff.
It also works slowly. Organic fertilizers generally release nutrients over days to weeks, so they are a poor choice if you need to fix a deficiency by Friday. The steps below work in USDA zones 5 through 9, in beds and in containers, as long as you follow the label and your crop’s needs.
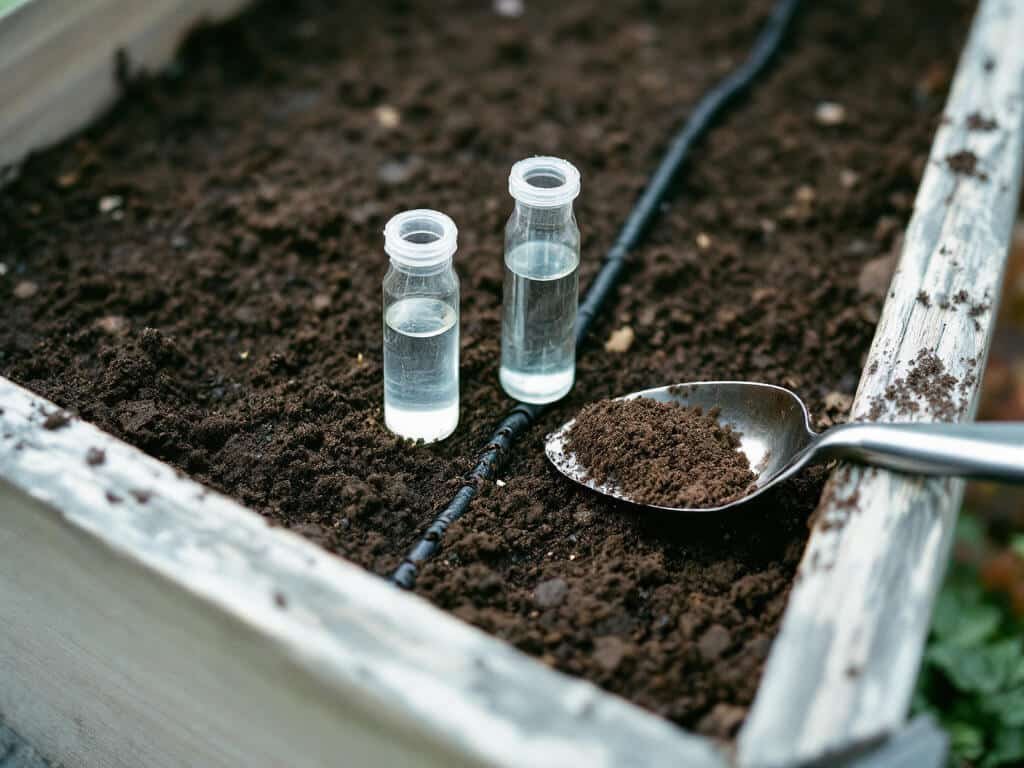
What You Need
Gather this before you open a bag:
– A soil-test kit or a laboratory soil test
– An organic fertilizer chosen for your crop and test results
– Measuring tools (cups, scoops, or a scale, whatever the label calls for)
– A garden fork, spade, or rake
– Gloves
– Clean water
– For containers: quality potting mix and a pot with drainage holes
If you plan to use compost or manure in a vegetable bed, use only finished compost or properly composted manure. Fresh or poorly composted manure can carry weed seeds and pathogens such as E. coli or Salmonella.
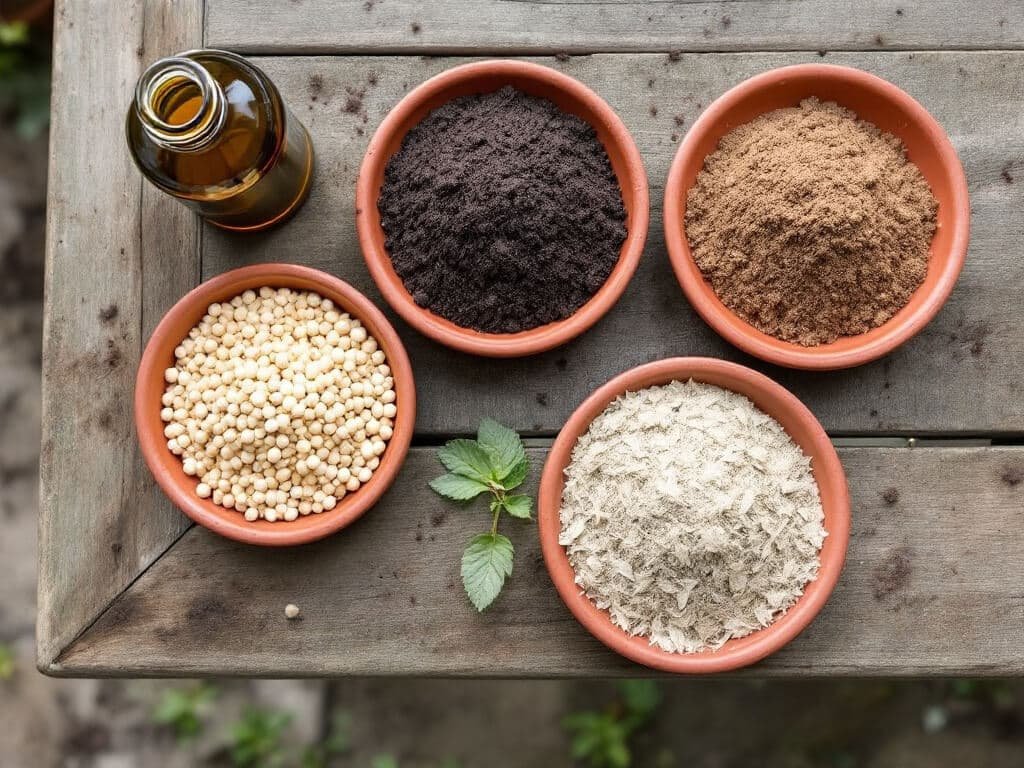
Test the Soil
Get a soil test before you fertilize, and repeat it every 2–3 years in an established garden. The results tell you what the soil already has and whether pH needs attention, which keeps you from guessing.
Use a kit or send a sample to a lab. Lab recommendations differ from one lab to another, so read the report for your specific crop. If the test shows a nutrient is already high, skip adding more of it. Buying fertilizer first and testing later is how people end up overfeeding.
Choose the Right Organic Fertilizer
Match the product to the soil-test recommendation and to what you are growing, because organic materials vary substantially in nutrient content. Release rate matters too, since these products typically take days to weeks to become plant-available.
Compare the nutrient analysis on the package against what your test says is missing. A product that suits a leafy vegetable bed may not suit a bed that already tests high in something. Dry products, liquids such as fish emulsion and seaweed extract, compost, and composted manure all count as organic, but they are not interchangeable.
For edible beds, I’d pick a labeled commercial product over anything with an unknown history. You get a stated analysis and a stated rate, which is more than you get from most free sources.
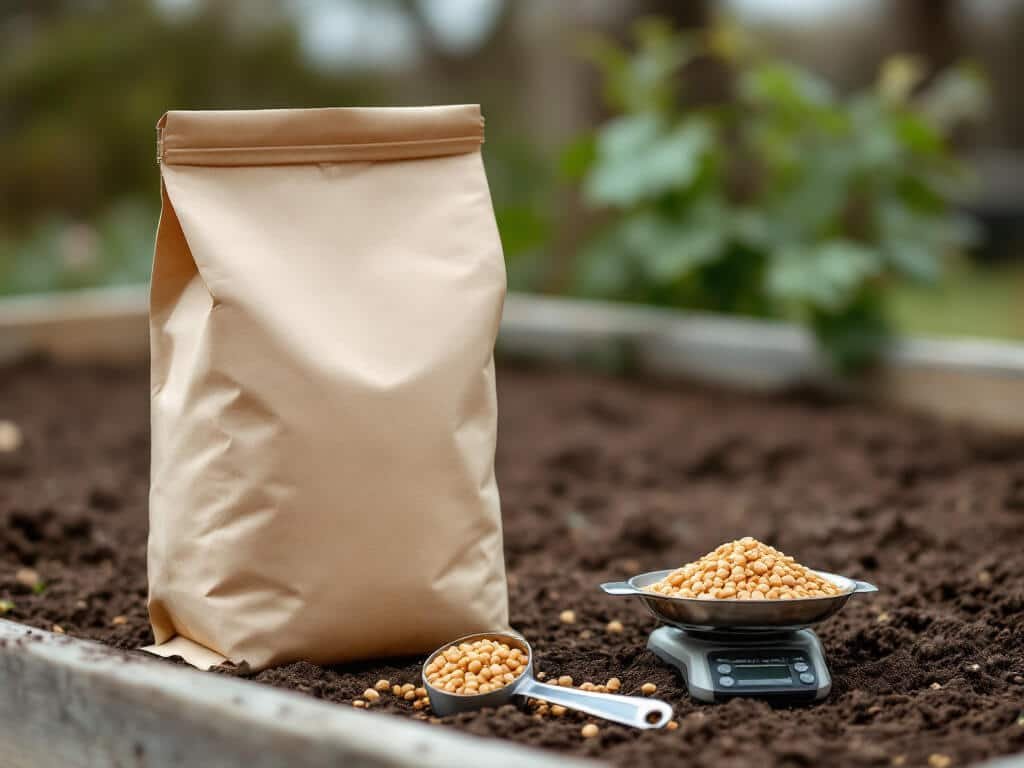
Read the Product Label
Use the rate, timing, and application method printed on the package. Do not assume all organic fertilizers have the same strength, because they do not.
Read three things before you measure anything:
1. The rate, and what area it covers.
2. The timing, meaning when in the season to apply.
3. The method, such as mixed into soil, scattered on the surface, or diluted in water.
Measure the amount instead of eyeballing it. A handful from one bag can be very different from a handful out of another.
Prepare the Garden Bed
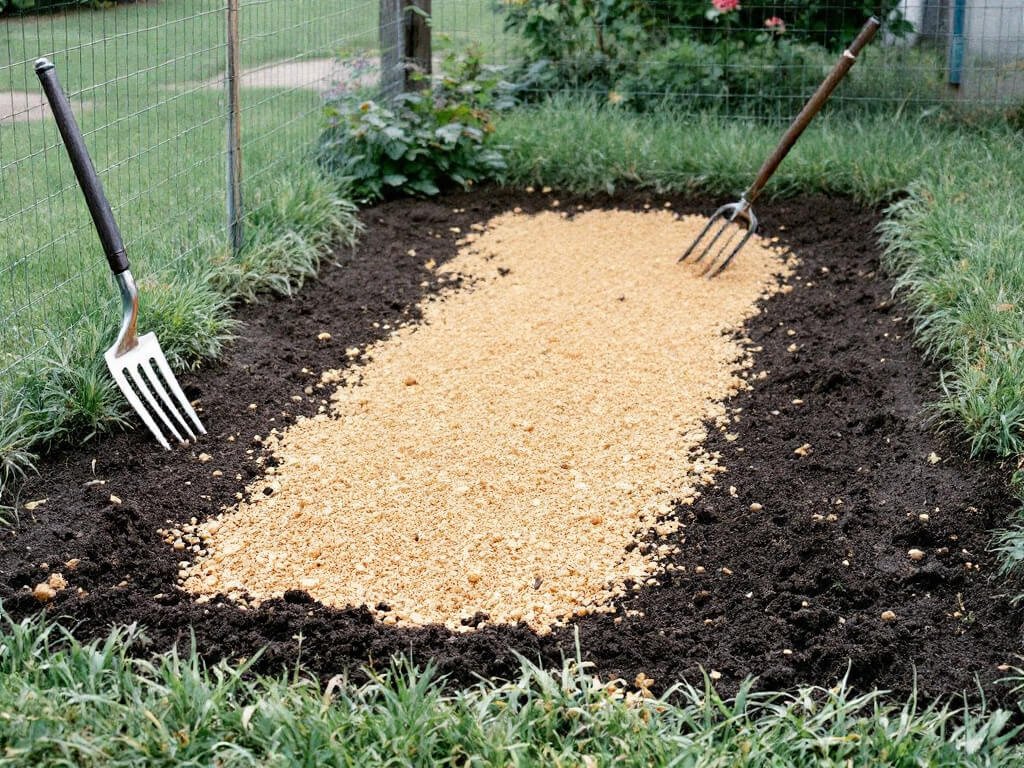
For a new or empty bed, spread the measured product evenly and work it into the top 6–8 inches of soil. Do this when the soil is workable, meaning it crumbles instead of clumping into a wet ball.
Spread the fertilizer over the whole bed rather than dumping it in piles. Then turn it in with a fork or spade, or rake it in if the bed is already loose. If you are filling a container, mix the product into quality potting mix according to the label instead of layering it in one spot.
Dry organic feeds release nutrients relatively slowly, which makes late winter or early spring a sensible time to apply them ahead of the season.
Protect Seeds and Transplants
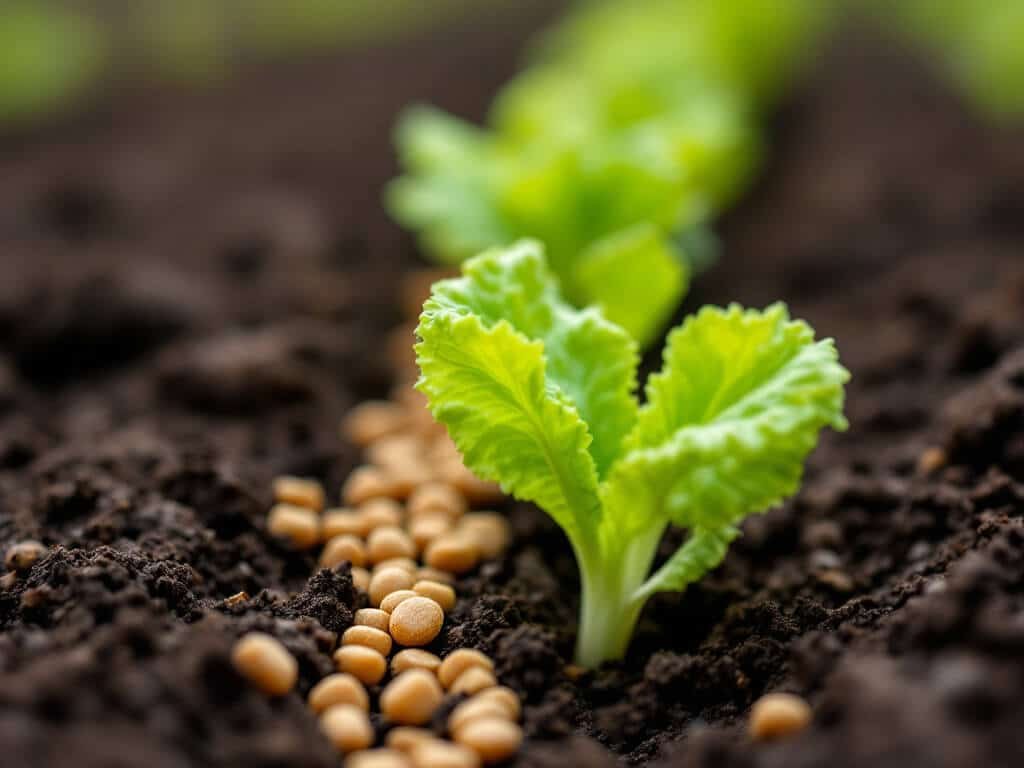
Keep fertilizer from touching seeds or young roots, because direct contact can injure germinating seeds and tender roots. If you are banding it in a row, place it 2–3 inches to the side of the seed or plant and 1–2 inches below the planting depth.
The simplest way to do this is to open a shallow furrow beside the row, lay the fertilizer in at the right depth, and cover it before you sow. For transplants, apply to the surrounding soil and not into the planting hole against the rootball. If you think you put product too close, move it away from the planting zone.
Apply Fertilizer Around Established Plants
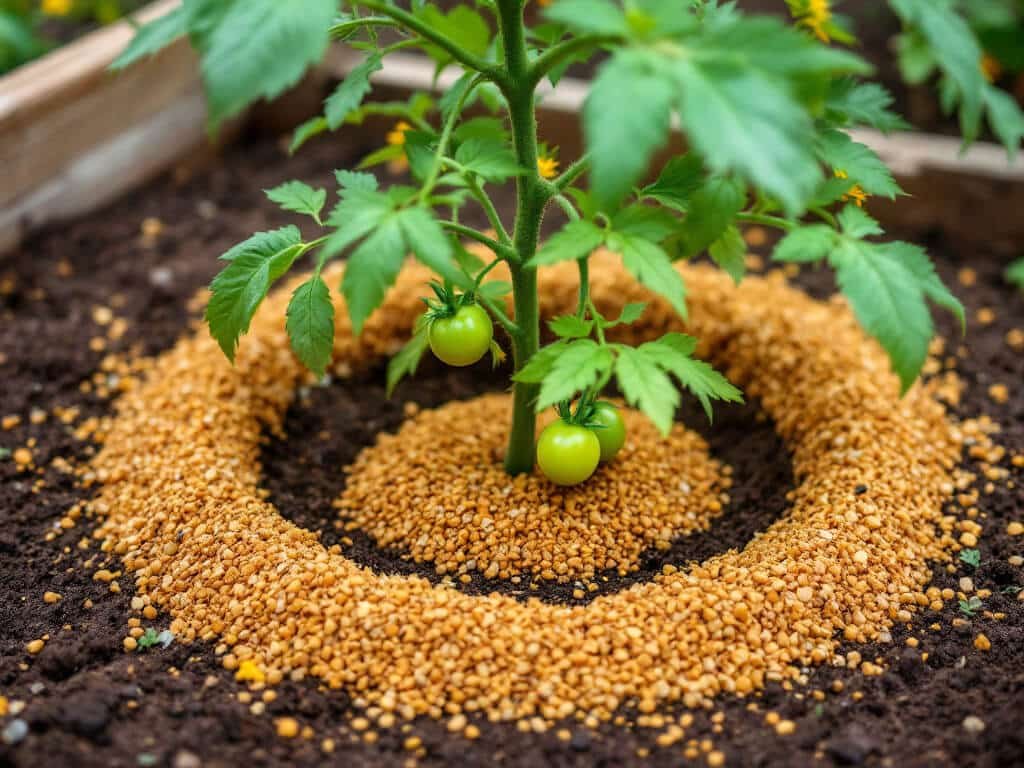
For plants already in the ground, use a surface dressing or side dressing around the plant, never against the base. Then water it into the soil as the label directs.
Spread the product in a ring out from the stem. Keep a gap right at the base so nothing piles up against the stem. Water afterward so the fertilizer moves into the soil, where microorganisms can start making nutrients available to roots. The same approach works for container plants: scatter the measured amount over the potting mix, away from the stem, and water it in.
Dilute Liquid Fertilizers
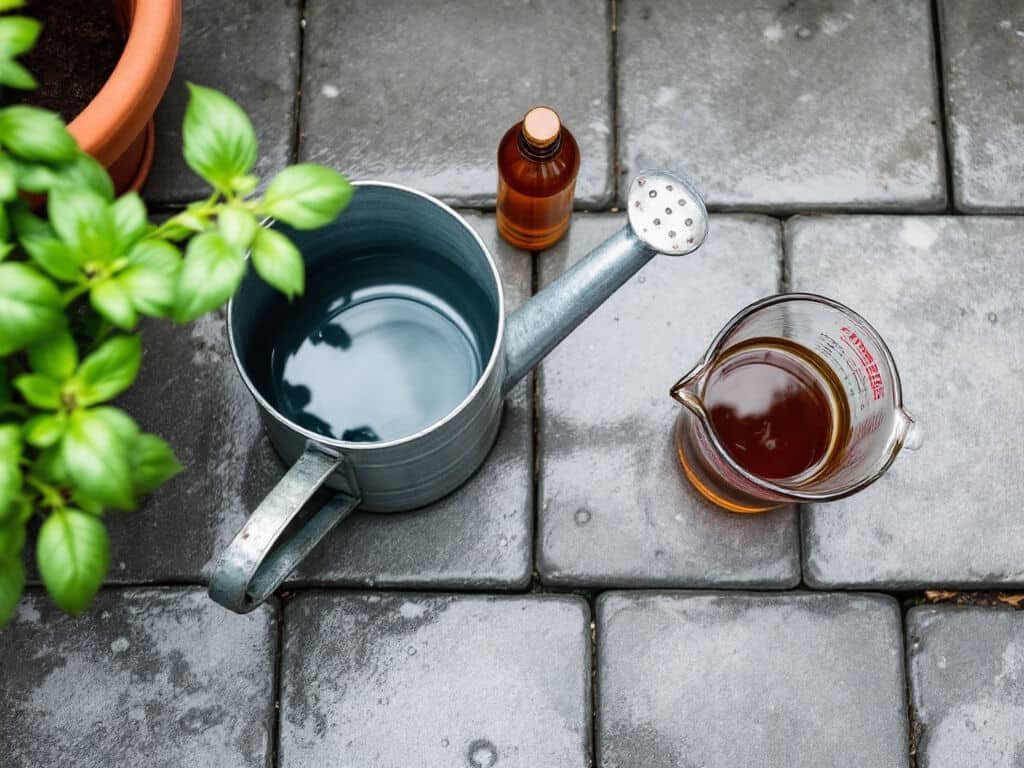
Mix liquid products such as fish emulsion and seaweed extract exactly as the label says, because a mix that is too strong can burn foliage or roots. Measure the concentrate and the water instead of splashing in extra.
Use clean water and mix the amount you need for that session. If you are feeding through the leaves, be especially careful, since concentrated foliar applications can scorch leaves. When in doubt, go weaker. A weak mix costs you a bit of time, while a strong one can cost you the plant.
Homemade plant feeds deserve even more caution. Their strength varies, so dilute them and use them more conservatively than you would a labeled commercial product.
Reassess Before Repeating
Before you apply again, look at the plants and check the label’s interval. Conservative applications reduce the risk of overfertilizing, and there is no prize for feeding early.
Watch growth for a few weeks. Because organic nutrients take time to become available, a plant that looks unchanged after three days has not necessarily failed to respond. If you are unsure whether it needs more, go back to your soil test instead of adding product on a hunch.
Common Problems
Overfertilization. Excess nutrients can damage plants and contribute to runoff. Stop applying, and rely on a soil test before adding anything more.
Seed or root injury. Fertilizer too close to seeds or transplants can injure them. Move the application away from the planting zone.
Leaf scorch from liquid fertilizer. Concentrated or foliar applications can burn leaves. Dilute precisely and follow the label.
Slow visible response. Soil microorganisms need days to weeks to make organic nutrients plant-available. Do not keep reapplying because nothing looks different yet.
Pathogens or weed seeds in manure. Fresh or improperly composted manure can carry both. Switch to properly composted material.
Unreliable homemade fertilizer strength. Homemade feeds vary in concentration. Dilute them and go lighter than you would with a labeled product.
When to Expect Results
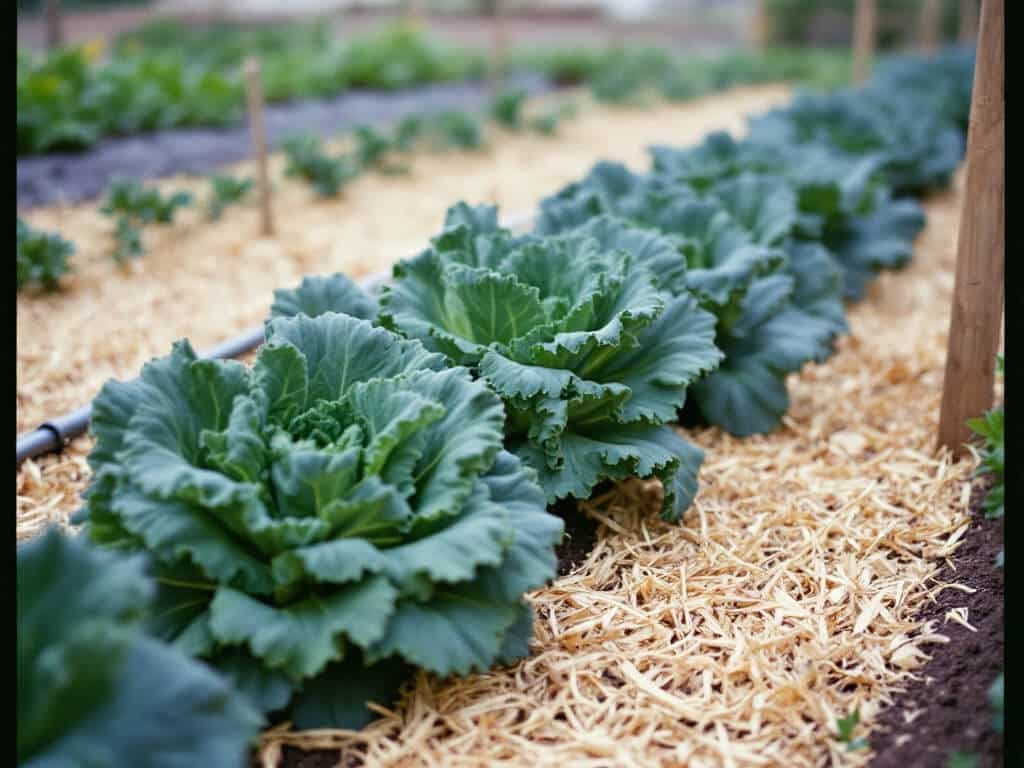
Expect nutrients to become available over days to weeks, not hours. That timing is the main trade-off with organic products, and it is why they suit steady feeding better than emergency fixes.
Soil-test turnaround and recommendations depend on the laboratory, so build that wait into your plan. Dry organic feeds can go on in late winter or early spring because they release slowly. Other products can be applied during the growing season, following label directions.
FAQ
Is organic fertilizer always safe for organic gardening?
Not automatically. Organic fertilizers differ in nutrient content and can carry risks such as pathogens in fresh or improperly composted manure, so use properly processed materials and follow product directions.
Should organic fertilizer be added before or after planting?
Either can be appropriate. Incorporate a measured application into the top 6–8 inches before planting, or apply a labeled surface or side dressing around established plants.
Can organic fertilizer burn plants?
Yes. Excessive rates, fertilizer touching roots, and overly concentrated liquid or foliar applications can injure plants, so use the label rate and keep fertilizer away from seeds and young roots.