
Camellia Care: How to Grow Healthy, Blooming Shrubs
Camellia care comes down to three things you settle early: where the shrub goes, what the soil is like, and whether it gets water in summer. Get those right and the rest is light work. Get them wrong and you get yellow leaves, damaged buds, or a shrub that sulks without flowering.
Camellias are evergreen flowering shrubs, and some cultivars can be trained as small trees. Camellia sasanqua typically flowers from late autumn through winter. C. japonica and C. × williamsii generally flower from early spring. Cultivars vary, so the plant label is your best guide to timing.
Hardiness also varies by species and cultivar. Check the label against your USDA zone before you buy, and keep in mind that C. sasanqua is generally less hardy than the spring-flowering types.
What You Need
Gather this before you dig:
– A camellia cultivar suited to your local winter conditions (check the label, since hardiness varies)
– A sheltered spot with partial or dappled shade
– A soil pH test kit to confirm the soil is acidic
– Organic matter to improve soil structure, used without hurting drainage
– Fertilizer made for acid-loving plants
– Bark or leaf mulch to help hold soil moisture
– For containers: a pot with drainage holes and acidic (ericaceous) potting mix
Choose the Right Site
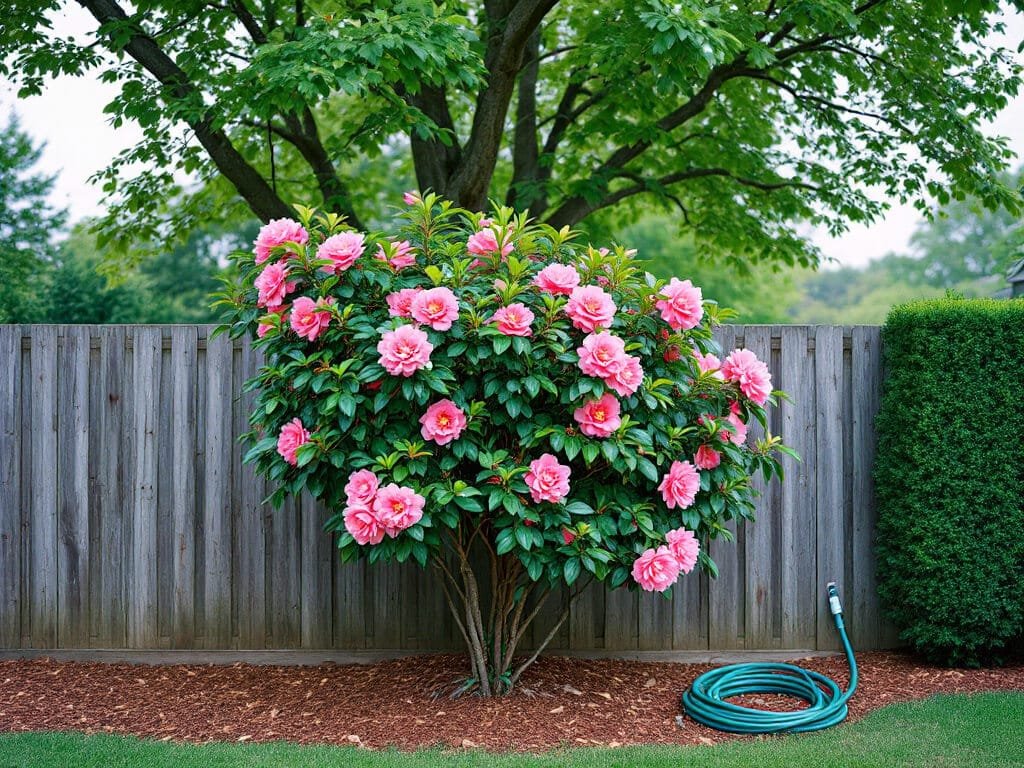
Most camellias prefer partial or dappled shade, so look for a spot that gets filtered light rather than all-day sun or deep shade. Shelter matters as much as light. Cold, dry winds and early-morning sun can damage buds and flowers, so avoid the corner where winter wind funnels through or the east-facing wall that catches the first sun after a frost.
C. sasanqua is the exception on sun. It tolerates more of it, but only once it is established. Even then it benefits from shelter, so don’t put a new one in the most exposed spot in the yard.
If you are planting a container camellia, the same rules apply. Pick a sheltered position and plan to move it somewhere more protected in severe winter weather, especially if it is a less-hardy type.
Test and Prepare the Soil
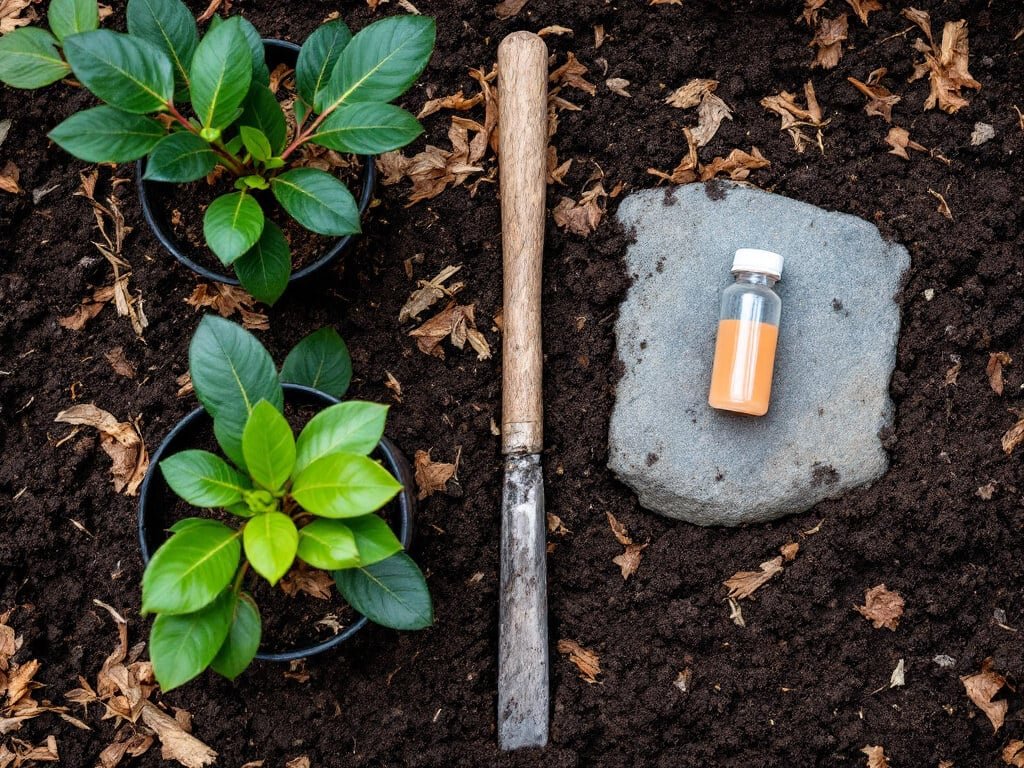
Camellias want acidic, organic-rich, well-drained soil, and they perform poorly in alkaline soil. Use a pH test kit before you plant rather than guessing. If the result comes back alkaline, planting in the ground is a gamble, and a container with acidic potting mix is the safer route.
If your soil is acidic but heavy or thin, work in organic matter to improve its structure. Do it without compromising drainage. Camellias like moisture, but not a spot where water stands, and poor drainage is how you invite root rot.
For pots, skip ordinary potting mix. Use an acidic, ericaceous mix and a container with drainage holes.
Plant in the Right Season
Plant in autumn while the soil is still warm. If autumn planting doesn’t suit your climate or situation, spring is the alternative. Warm soil lets the roots settle before the plant has to deal with heavy demands, which is why autumn comes first on the list.
Set the shrub in the prepared site and water it in well. A layer of bark or leaf mulch over the root zone helps conserve soil moisture, which will matter over the next year and a half.
Allow Mature Room
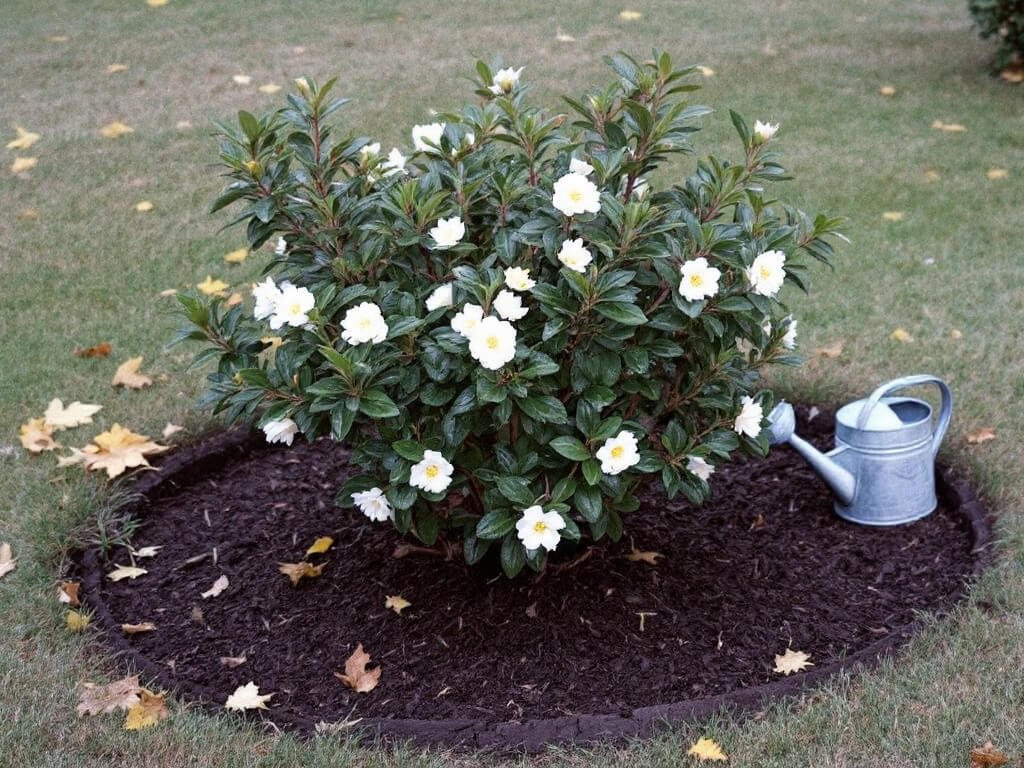
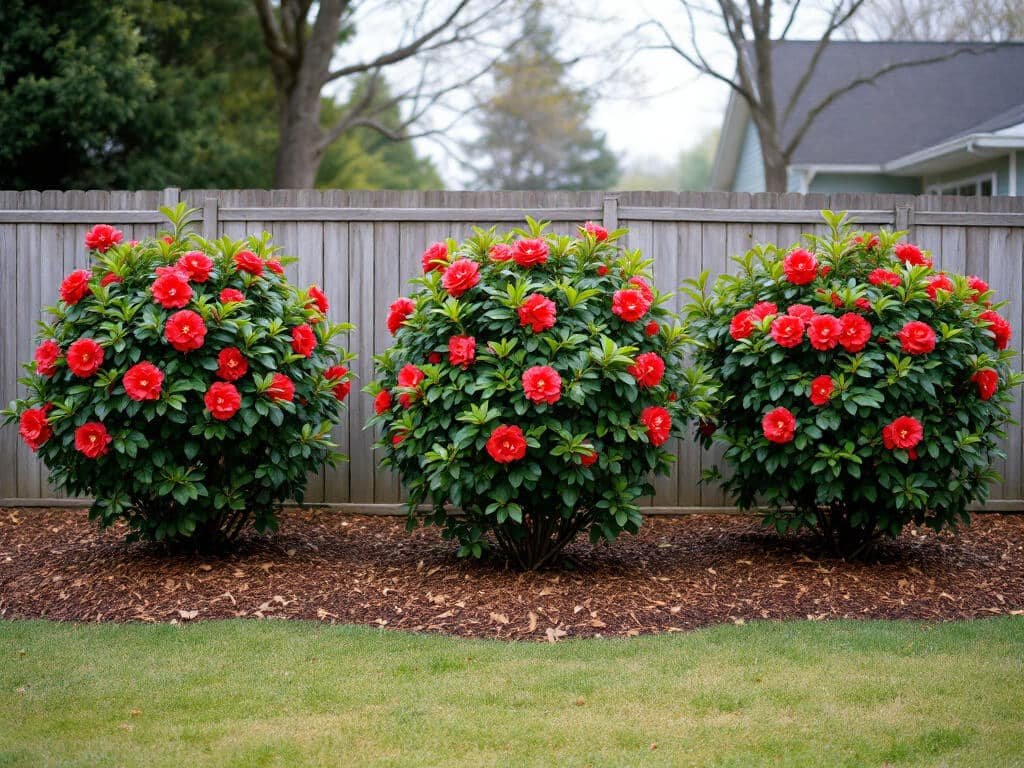
Plan for about 10–15 feet of space per plant for a mature specimen. That sounds like a lot when you are holding a one-gallon shrub, but final size varies by cultivar, and the label may list a smaller mature size. If it does, go by the label.
Crowding is the mistake to avoid. A camellia squeezed against a fence or a neighbor’s shrub ends up needing hard pruning, and hard pruning has a cost in flowers (more on that below). Measure the space now and you won’t be moving a shrub later.
Water During Establishment
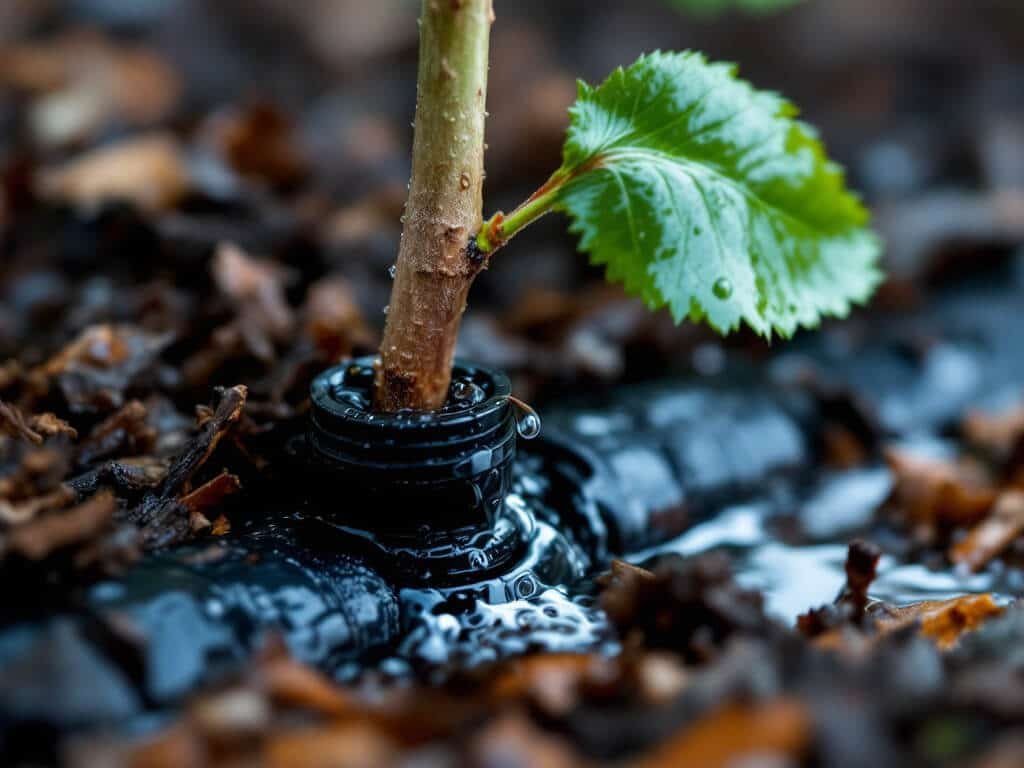
A newly planted camellia needs attentive watering for its first 18 months. Water as needed and keep the root zone moist rather than letting it dry out between waterings.
Moist does not mean soggy. The soil should be well-drained, and persistently wet ground can contribute to Phytophthora root rot. If you are watering often and the soil stays wet, the problem is drainage, not thirst. In a pot, empty the saucer so the roots aren’t sitting in water.
Maintain Summer Moisture
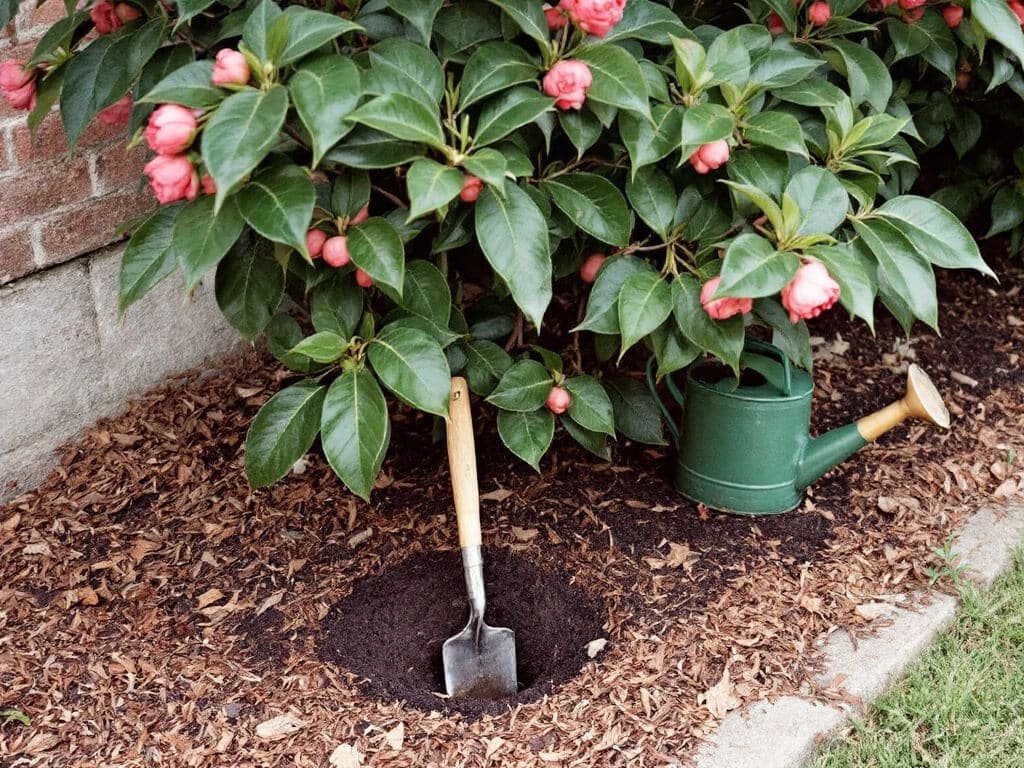
After establishment, summer is the season to watch. Push a finger or trowel in and check the soil about 4 inches below the surface. If it feels dry at that depth, water thoroughly.
Summer drought can reduce next season’s flowers, because the following year’s flower buds develop during summer. A dry summer can mean a poor bloom the next winter or spring, even though the shrub looks fine in the meantime. Mulch helps here, so keep the layer topped up.
Feed at the Correct Time
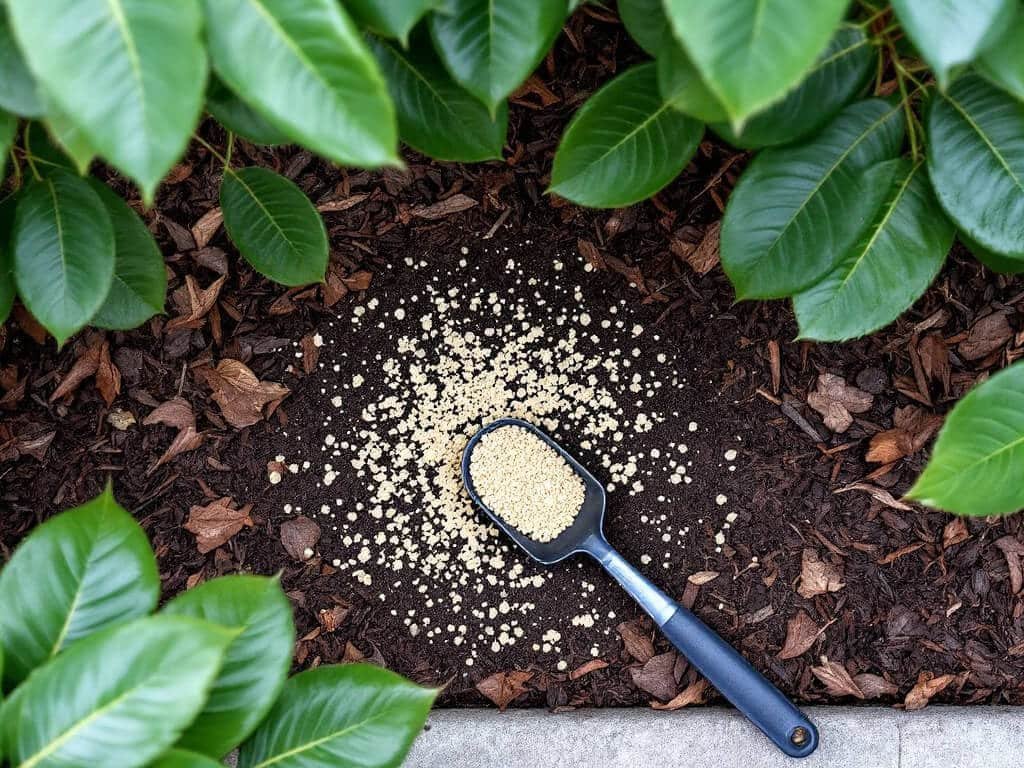
Apply a fertilizer made for acid-loving shrubs in spring, and follow the product label for the amount. Don’t feed later than the end of July.
That’s the whole feeding schedule. There is no need to fertilize through the year, and I’d skip the late-season “boost.” Stick to the spring window and the label rate.
Prune After Flowering
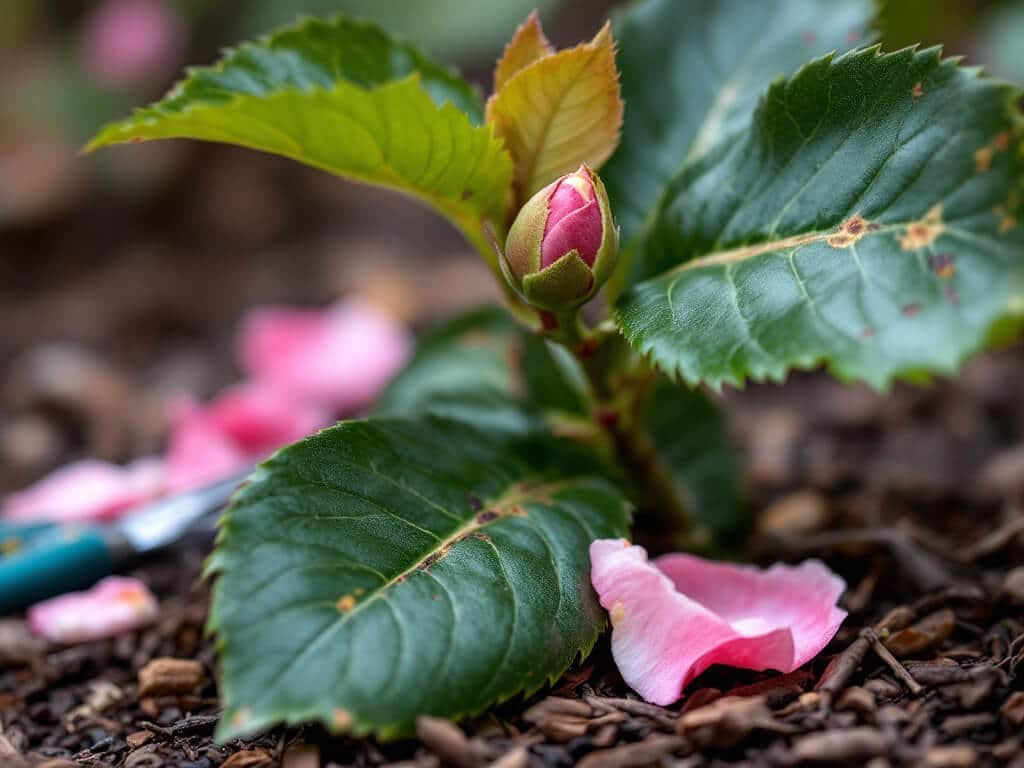
Camellias don’t need routine pruning. When you do want to shape one, trim immediately after flowering and before the next flush of growth, because new growth begins soon after the blooms finish.
For an overgrown or twiggy plant, remove crossing, weak, or crowded branches. Go light where you can. Severe reduction can take two years or more before flowering returns strongly, so a hard cut costs you blooms for a while.
Common Problems
Most camellia trouble traces back to site, soil, or water. Here is what to look at first:
– Yellow leaves and leaf drop: Often associated with alkaline soil. Test the pH and grow the plant in acidic soil or an acidic container mix.
– Few flowers: Deep shade, drought, or cold and wind exposure can all reduce flowering. Improve the light where appropriate, keep up summer moisture, and shelter the shrub.
– Root rot: Poor drainage or persistently wet soil can contribute to Phytophthora root rot. Improve drainage and don’t plant where water stands.
– Bud or flower damage: Cold winds, early-morning sun, and late frosts can damage buds and flowers. A sheltered site is the fix.
– Overgrown or twiggy growth: Prune right after flowering, removing crossing, weak, or crowded branches.
– Container winter injury: Move container camellias to a sheltered position in severe winter weather, especially less-hardy types.
Camellias can also be bothered by aphids, scale insects, vine weevil, camellia gall, camellia leaf blight, yellow mottle virus, and camellia petal blight. If something looks off beyond the problems above, check the leaves and buds closely before assuming it is a watering issue.
When to Expect Results
Here is the rough timeline:
– First 18 months: Establishment. Plan on attentive watering.
– Summer: Next year’s flower buds develop, so avoid prolonged dryness.
– Flowering: Late autumn through winter for C. sasanqua, or early spring into late spring for the spring-flowering types, depending on cultivar.
– After pruning: New growth starts soon after flowering. A severe cut can take two years or more before blooms return strongly.
Camellias reward consistency more than effort. If you place the shrub well, keep the soil acidic and the summer moisture steady, and prune lightly, the blooms follow.
FAQ
Do camellias need full sun?
Most camellias prefer partial or dappled shade. Camellia sasanqua can tolerate sunnier conditions after its roots are established, but it still benefits from shelter.
How often should camellias be watered?
Water newly planted camellias as needed during their first 18 months, and prevent the soil from drying out during summer. Check about 4 inches down and water thoroughly when the soil is dry at that depth.
When should camellias be pruned?
Prune immediately after flowering. New growth begins soon afterward and will help determine the plant’s future shape and flowering.