
How to Grow Strawberry Seedlings from Seed
Starting strawberry seedlings from seed comes down to a clean start, even moisture, and planting at the right depth when you move them outside. The extension sources behind this guide are detailed on transplanting and care, but they don’t verify a sowing depth or a germination time for seed. Where that’s the case, I’ll say so rather than guess.
Pick a named cultivar before you buy seed. Zone suitability varies by variety, so choose one labeled for your area. Also decide on a type, because it sets when you’ll eat fruit: June-bearing, everbearing, or day-neutral.
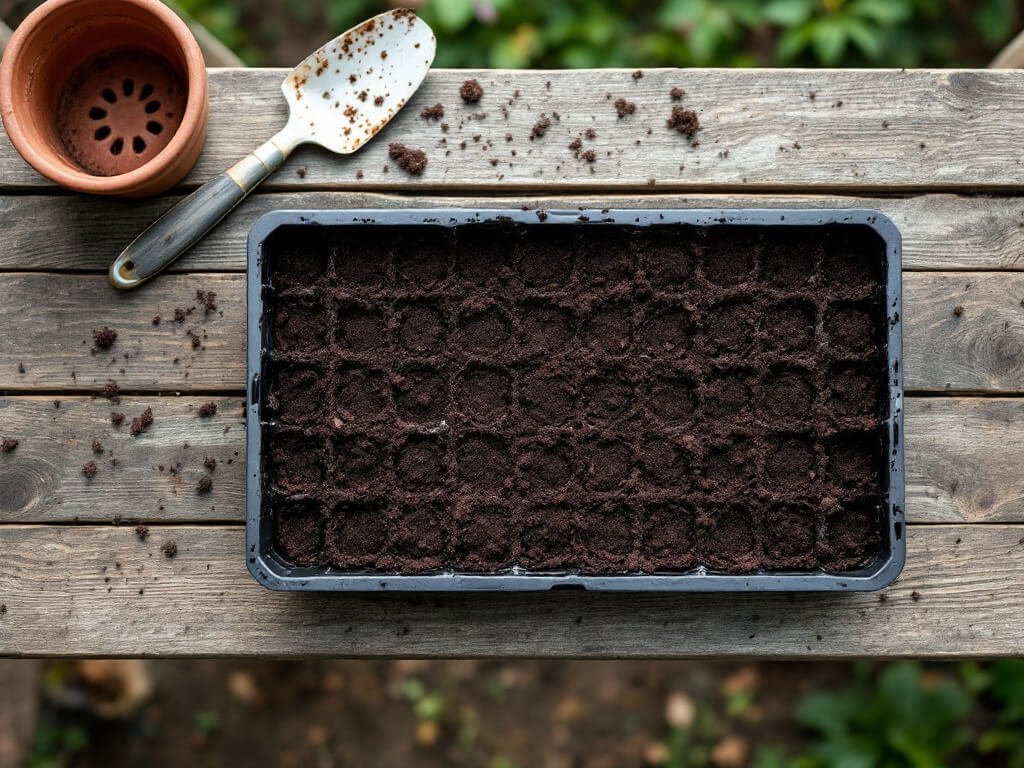
What you need
Gather everything before you sow. Most of this is basic seed-starting gear.
– Seeds from a named cultivar suited to your climate
– Seed-starting trays or small pots with drainage holes
– Sterile, fine-textured seed-starting mix
– A clear humidity cover or plastic wrap
– A grow light or a bright spot
– A watering can with a fine rose, or a tray for bottom watering
– Labels and a pencil
– Small containers or a prepared garden bed for transplanting
– Well-drained soil, plus compost or other organic matter
– A soil test, with amendments only if the results call for them
– Straw or another clean mulch for later
Label everything as you sow. Cultivars look alike as seedlings, and you’ll want to know which is June-bearing and which is day-neutral when fruiting time comes.
Prepare the growing medium
Fill clean containers with sterile, well-drained seed-starting mix. Wet, compacted garden soil is the wrong choice for starting seed, because it holds too much water and can carry problems into the tray.
Make sure every container has drainage holes. Dampen the mix before you sow so it’s evenly moist, not dripping. Clean containers and sterile mix also help prevent seedlings from collapsing at the soil line, which I cover in the problems section.
Sow the seeds
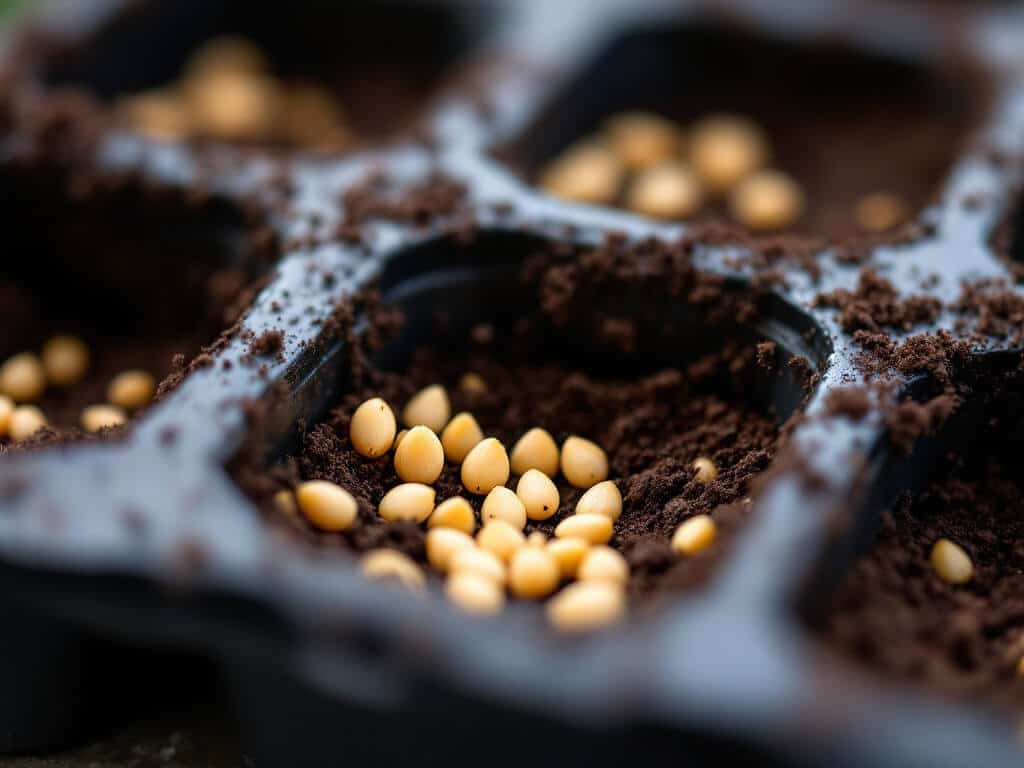
Place the seeds on the surface of the moist mix and press them in gently. Don’t bury them deeply. The reviewed sources don’t verify a universal sowing depth, so surface sowing with a light press is the cautious approach.
Space the seeds so you can pull individual seedlings later without tearing up their neighbors. Label each tray with the cultivar and the sowing date.
Maintain moisture and light
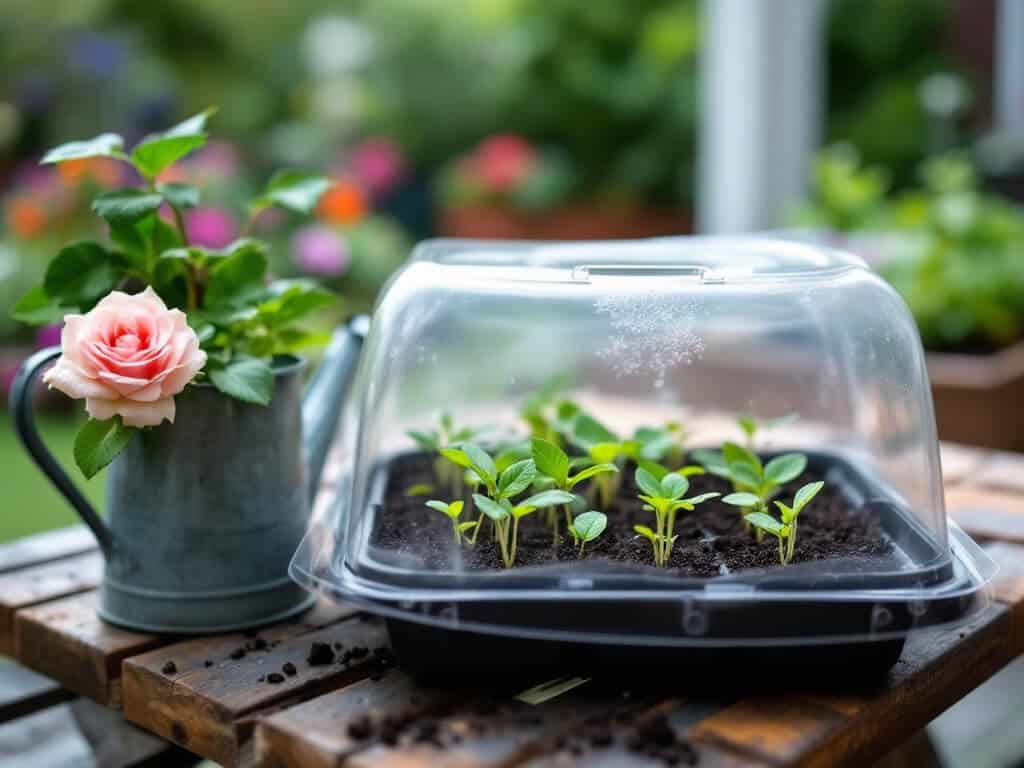
Keep the mix consistently moist but not waterlogged, and give the tray bright light. Cover it with a clear humidity cover or plastic wrap until seedlings emerge, then take the cover off to improve air circulation.
Water from the bottom or with a fine rose so you don’t wash the seeds around. If the surface dries out, germination gets patchy. If the mix stays soggy, seedlings can collapse at the soil line.
Don’t plan around a germination date. The sources reviewed give no verified number of days for strawberry seed, so check the tray often and keep conditions steady until you see growth.
Harden the seedlings
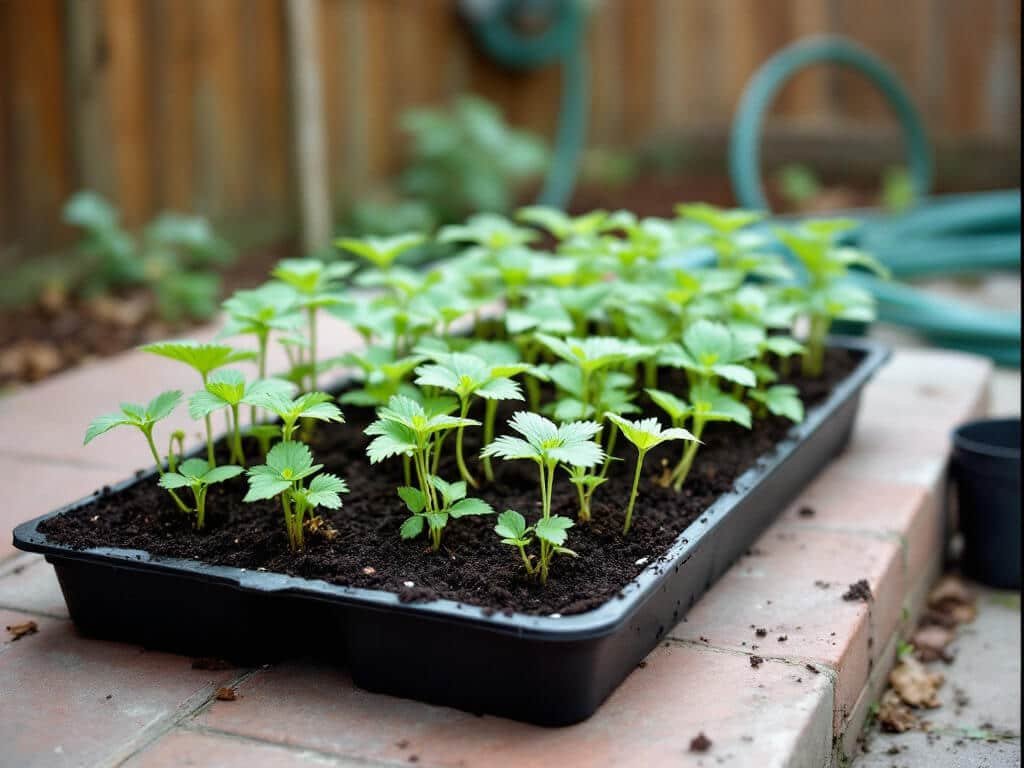
Before transplanting, expose the seedlings to outdoor conditions gradually. Move them outside for a short stretch in a sheltered spot, then lengthen the time over several days. The brief doesn’t set an exact schedule, so watch the plants and let them tell you whether they’re coping.
Don’t rush them into the ground. Wait until the bed is workable and not wet. Planting into soggy ground is a quick way to set young plants back.
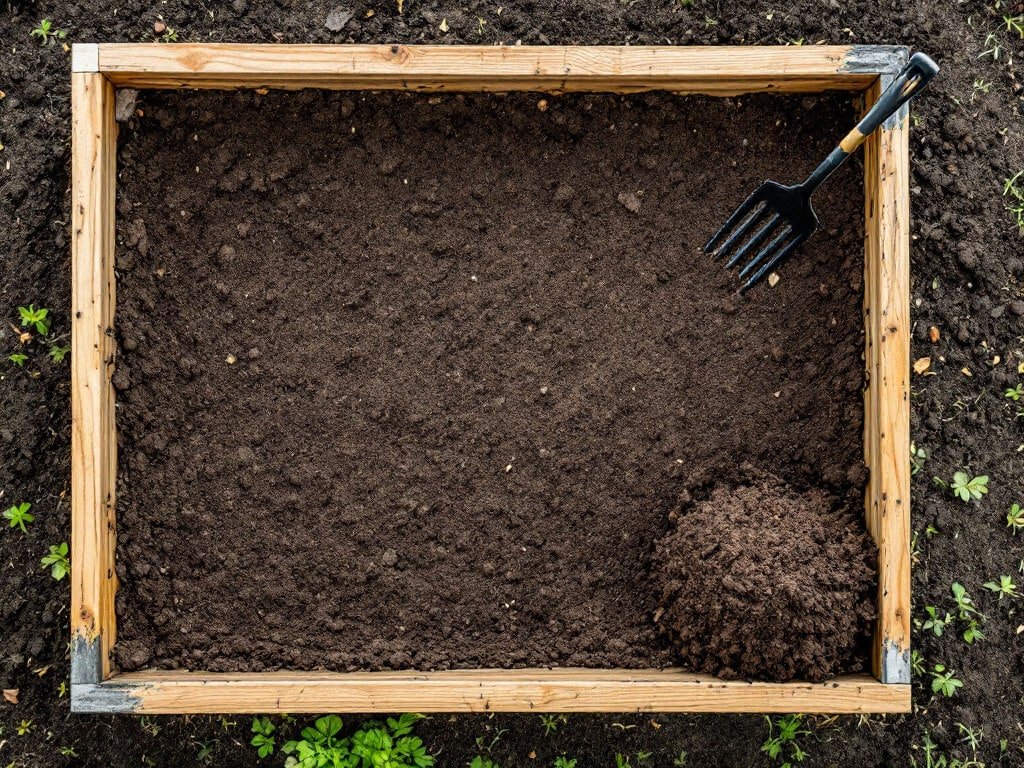
Prepare the planting site
Choose a spot with full sun, at least 6 hours of direct light daily, for the highest yields. Strawberries want well-drained soil high in organic matter, with a pH of about 5.5 to 6.5.
Test the soil first, then add compost or other organic matter as needed. Only add other amendments if the test says you need them.
Pay attention to what grew there before. Don’t plant strawberries where tomatoes, peppers, eggplants, or potatoes recently grew. Those crops can host Verticillium wilt, a soil-borne disease that hits strawberries.
Transplant at the correct depth
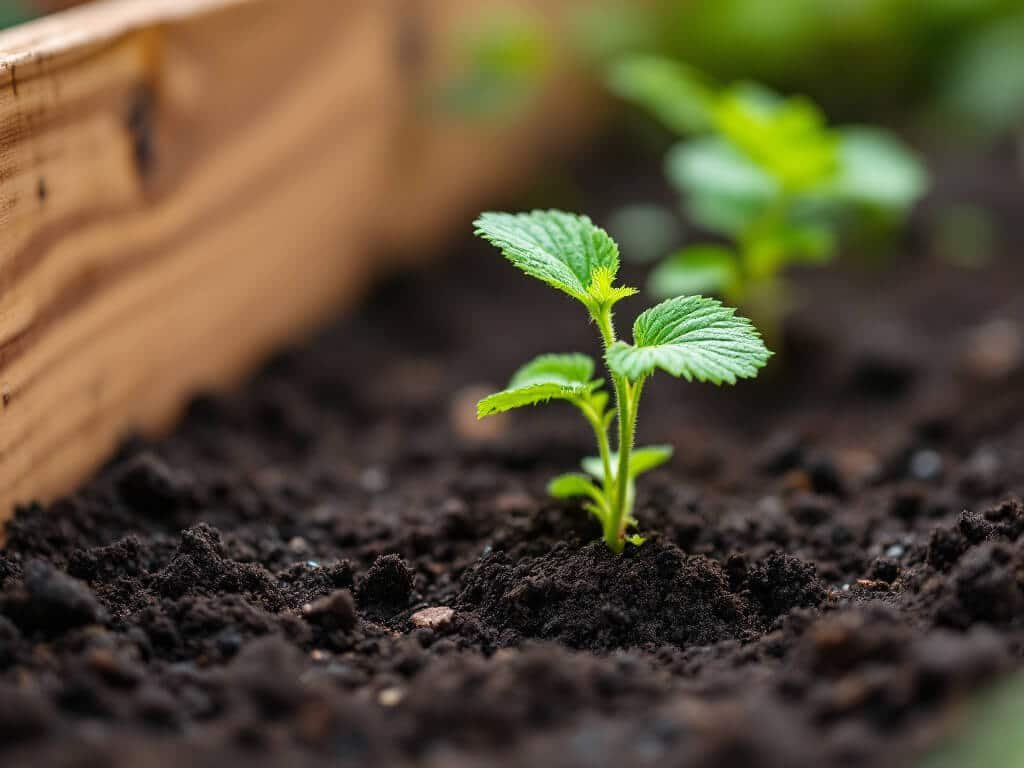
Set each seedling so the roots are covered and the crown sits right at soil level. The crown is the short stem base where the leaves meet the roots. Burying the crown or leaving roots exposed can cause poor growth or kill the plant.
Dig a hole wide enough to spread the roots out rather than bunching them. Firm the soil around the roots, then check the crown. If it’s below the surface, lift the plant a little. If roots show, add soil.
Space the plants
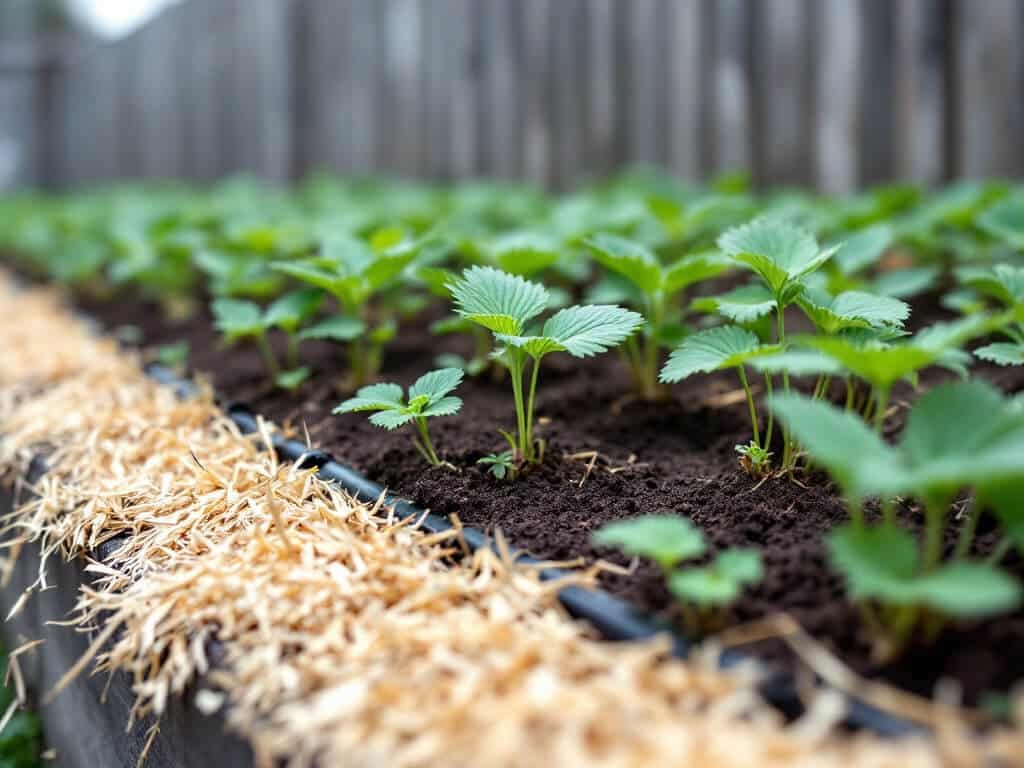
For a matted-row planting, set plants 18 to 24 inches apart in rows about 4 feet apart. Day-neutral and everbearing types are commonly spaced about 12 inches apart in rows 12 inches apart.
That tighter spacing suits those two types. June-bearing plants send out runners and fill in the row, so they get more room. Pick the layout that matches the type you started.
Containers work too. The same rule applies: give each plant room and keep the crown at soil level.
Water and establish the seedlings
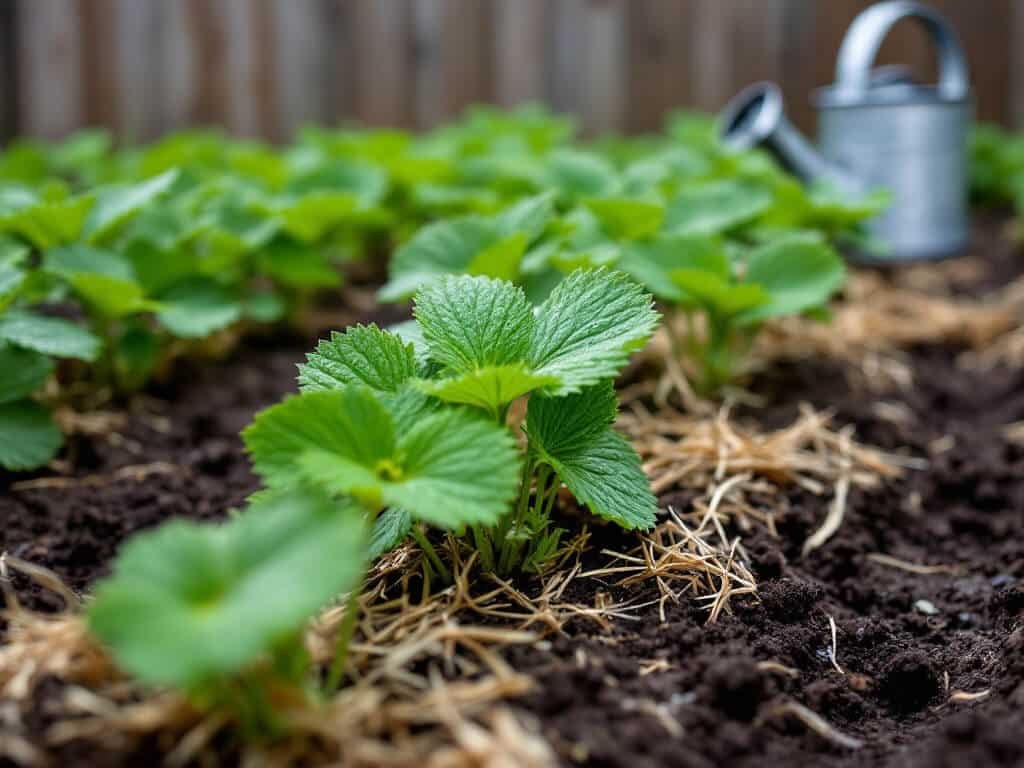
Water right after planting, then give the bed about 1 inch of water per week during active growth. Apply it deeply enough to wet the root zone rather than sprinkling the surface.
Pinch off the flowers during the first growing season. This sends the plant’s energy into roots and runners instead of an early crop. It feels wrong to remove blossoms, but young plants that fruit early have less to build on.
Mulch with straw or another clean material. It helps with weeds and soil moisture, and it protects plants over winter. Keep an eye out for birds, slugs, and weeds, which are the recurring nuisances.
Common problems
– Poor or uneven germination: Keep the mix evenly moist and give strong light. The sources don’t verify a single germination temperature, so don’t chase one.
– Seedlings collapse at the soil line: Ease off the watering, improve air circulation, and use clean containers and sterile mix.
– Crown buried during transplanting: Replant so the crown is at soil level, with roots covered and not exposed.
– Wilting after planting: Water right away and keep moisture consistent. Don’t saturate poorly drained soil.
– Few or no berries in the first season: That’s expected if you removed the flowers, as recommended. Fruiting time also depends on cultivar type and plant maturity.
– Root or crown problems: Improve drainage, avoid wet soil, and don’t plant after tomatoes, peppers, eggplants, or potatoes.
When to expect results
Timing depends on what you planted, and some numbers simply aren’t verified for seed.
– Germination: No verified universal number of days for strawberry seed.
– Establishment: Set transplants out in spring while the ground is workable, so they have time to establish before hot summer weather.
– Runners: Established plants may begin producing runners about 4 to 5 weeks after planting, depending on conditions.
– Harvest: June-bearing types fruit over about 2 to 3 weeks in spring. Everbearing types commonly crop in late spring and early fall. Day-neutral types may fruit from late spring through fall.
– Productive lifespan: Plantings commonly decline in productivity after about 2 to 3 years.
Because you remove first-season flowers, plan on your real harvest coming later than the cultivar’s fruiting window suggests. Plan for a replacement planting in a couple of years.
FAQ
How deep should strawberry seedlings be planted?
Cover the roots, but keep the crown at soil level. Covering the crown or leaving roots exposed can cause poor growth or plant death.
How much sun and water do strawberry plants need?
Strawberries perform best with at least 6 hours of direct sun and about 1 inch of water per week during the growing season.
Will strawberry seedlings produce fruit their first year?
It varies by cultivar and plant maturity. Removing flowers during the first growing season is commonly recommended to build roots and runners rather than get an early crop.