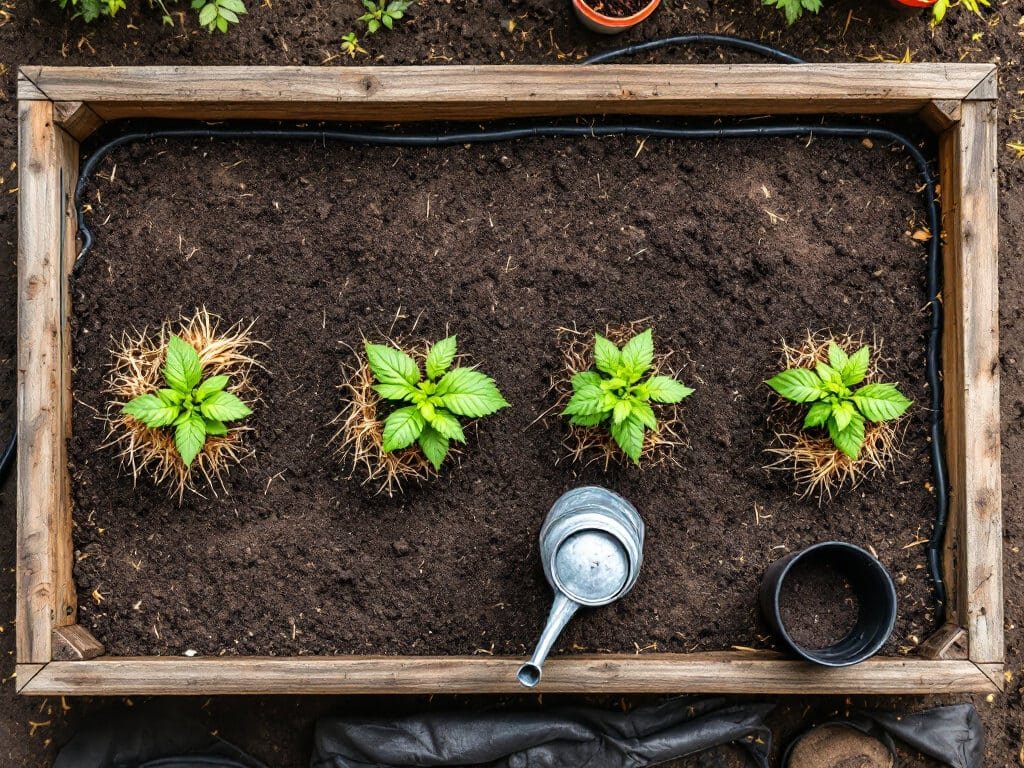
How to Harden Off Seedlings Before Planting
Hardening off seedlings is the step between the windowsill and the garden bed, and skipping it is how healthy transplants end up scorched, wilted, or dead. Plants raised indoors or under cover have never felt wind, cooler air, lower humidity, or direct sun. You introduce all of that in stages so the plants can adjust.
The process takes about two weeks. It costs nothing and needs only a little attention each day.
What you need
Most of this is already in your garage or on your porch.
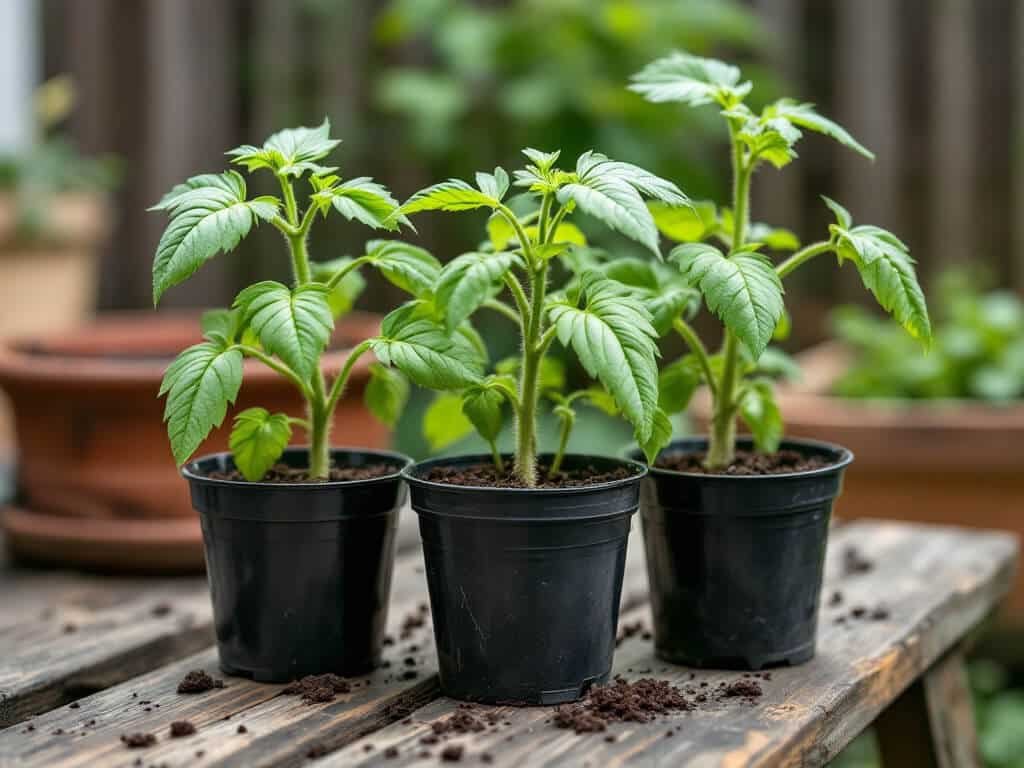
Healthy seedlings in individual pots or cell trays. The RHS commonly recommends 7.5–9 cm (3–3½ in) pots or cells for seedlings being grown on.
A warm, sheltered spot outdoors with shade or filtered light for the first exposures.
A watering can or a hose with a gentle nozzle.
A cold frame, mini-greenhouse, fleece, or row cover for protection from wind, cold, and sudden temperature swings.
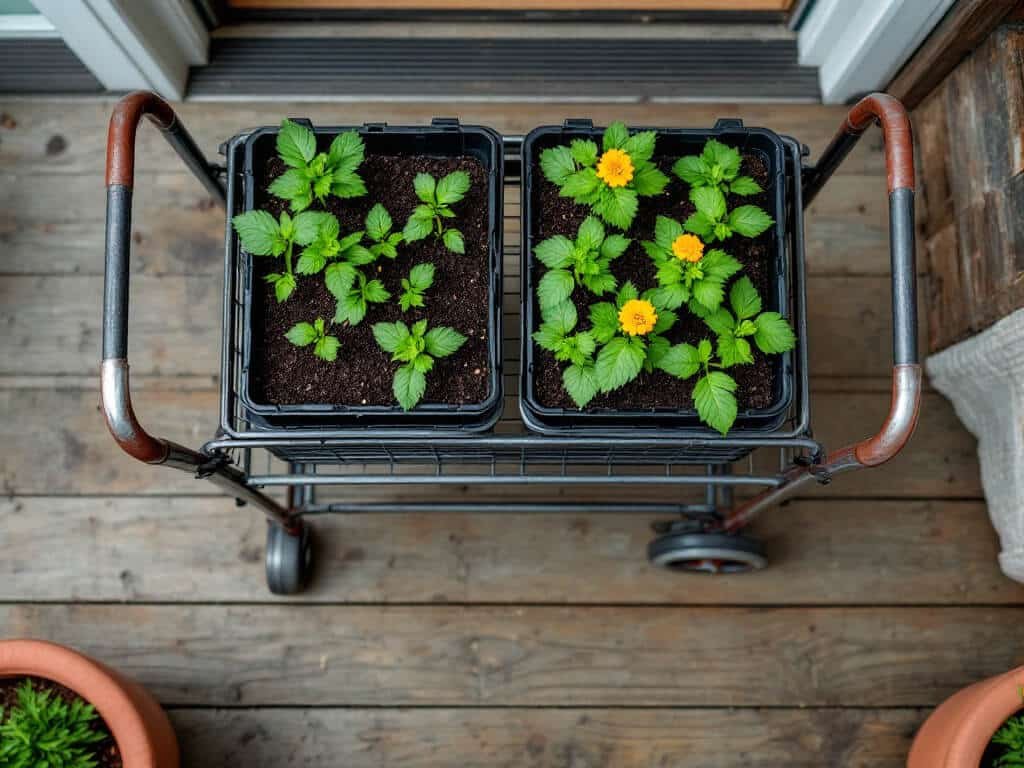
A tray or cart if you need to carry containers in and out each day.
Labels, so you know which tray holds what once everything is mixed together.
A weather forecast you actually check.
Check readiness
Start about two weeks before you plan to plant outdoors. Count back from your planting date for that crop, which depends on your local frost conditions and how tender the plant is.
Seedlings should be established and sturdy enough to handle being moved. Size alone doesn’t tell you they’re ready, so don’t judge by height. If growth has stalled in a cold greenhouse, keep the seedlings under suitable protection until they’ve firmed up. Some seedlings like cool conditions after germination, but cold nights can check them, and weak plants handle hardening off badly.
Choose a mild day
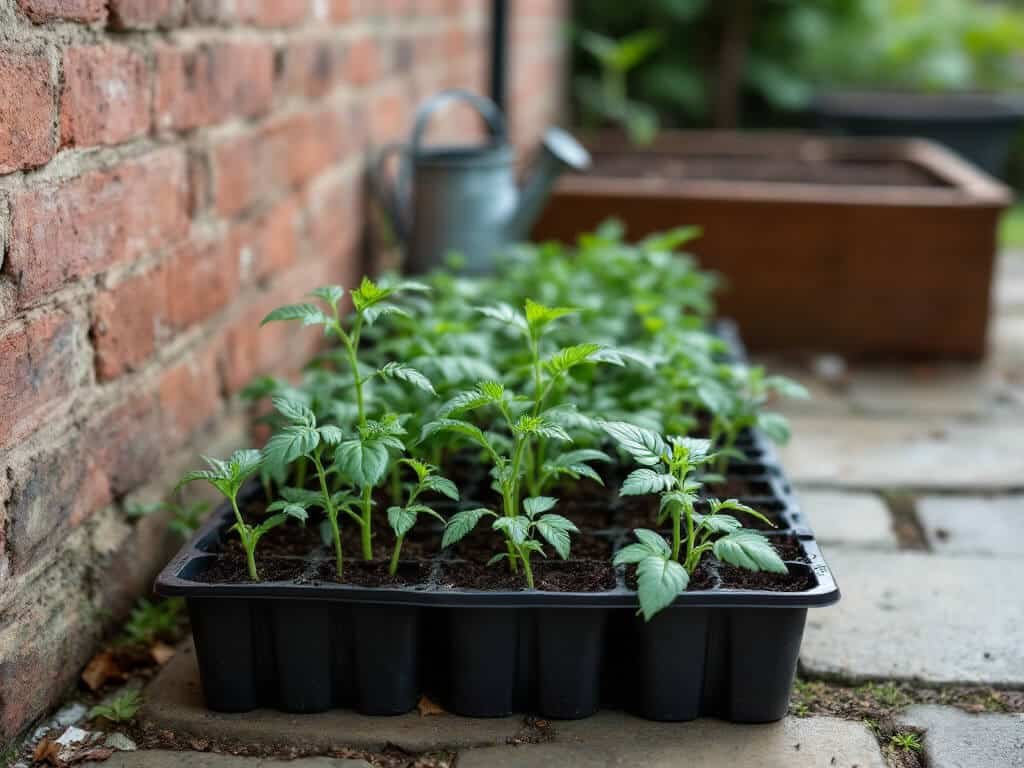
Pick a mild day and set the seedlings out for a few hours during the warm part of the afternoon. Keep them sheltered and out of strong wind. Cold, blustery weather is the wrong day to begin, so wait it out and start the next calm one.
This first outing is a test. You’re checking how the plants respond to moving air and a different temperature before anything else changes. Bring them back in at the end of the session.
Move seedlings into shade
Put the trays in shade or filtered light for the opening stretch of the 10–14 day process. A spot against the house wall, under a tree, or beneath a table works well. Direct sun is the fastest way to burn leaves that grew up behind window glass or under grow lights.
Check the pots when you set them out and again when you bring them in. Small containers dry out faster outdoors because wind and sun pull moisture from the medium. Water when needed, but don’t leave the mix saturated.
Bring seedlings indoors overnight
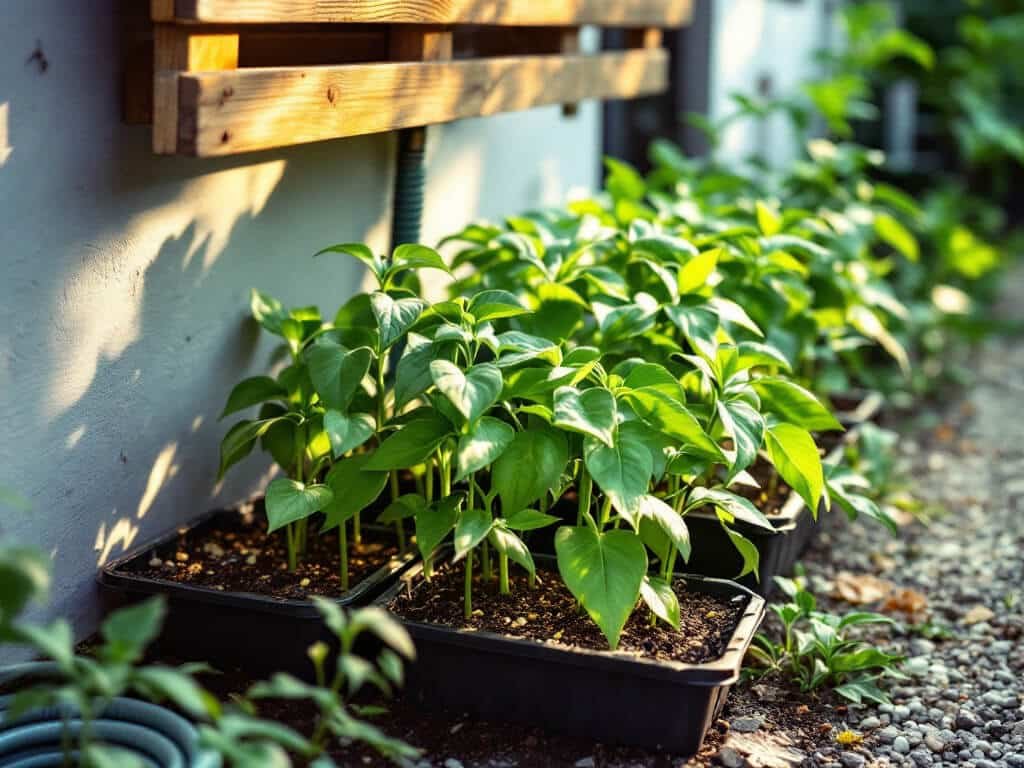
For the early part of the process, carry the seedlings back inside every evening before nighttime temperatures drop. They’re still tender, and a cold night is a bigger shock than a bright afternoon.
A tray or cart makes this easy, and it matters more than it sounds. If hauling pots in and out is a chore, you’ll be tempted to leave them out one night too early. Load them up and bring them in.
Extend outdoor time
Add time outside each day, and move the trays gradually from shade toward brighter light and more direct sun. Over the 10–14 days the goal is simple: more hours, more light, a little more wind.
Don’t jump from a few hours in shade to a full day in open sun. Brief says to go gradually, and leaf scorch is what happens when you don’t. If you miss a day because of bad weather, repeat the previous day’s exposure instead of pushing ahead.
Check the plants and the growing medium every day. If they wilt badly, move them to shelter.
Increase sunlight and wind exposure
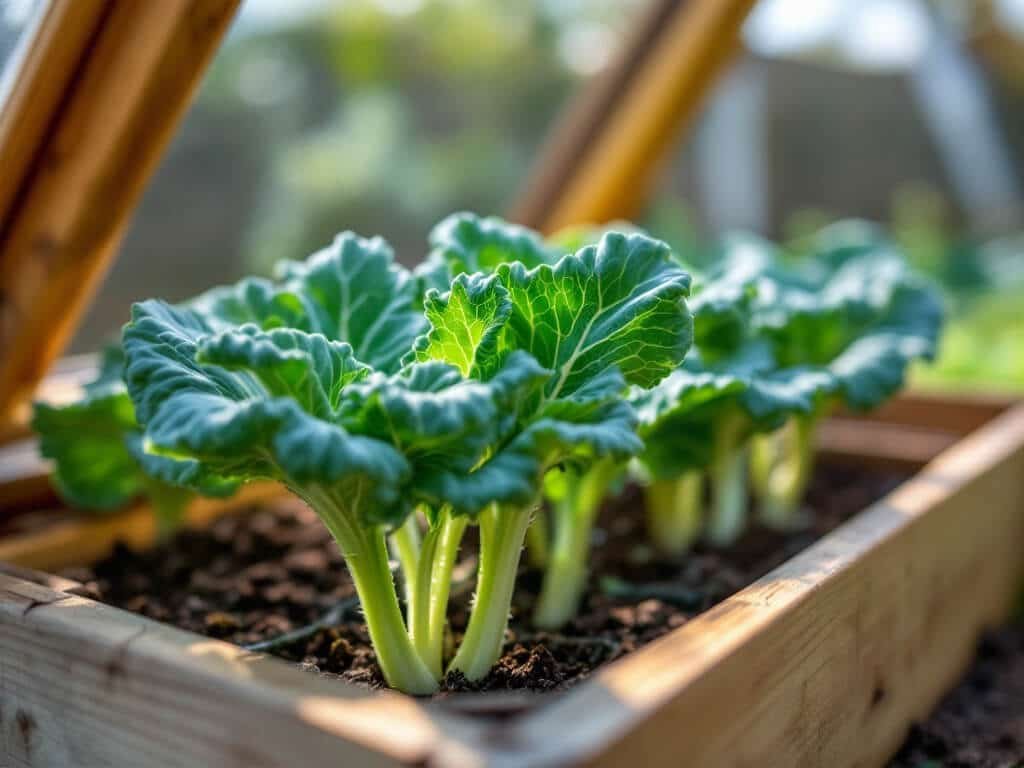
Once the seedlings are spending longer periods outdoors, start loosening their protection. An open cold frame, a layer of fleece, or a similar cover lets you introduce wind and cooler air in steps. Ventilate or open the covering a bit more each day.
Watch the leaves. Scorched or bleached patches mean the sun came on too fast, and severe wilting means the wind or dryness was too much. Pull the plants back to shade or shelter, then lengthen the transition.
Protect seedlings from cold
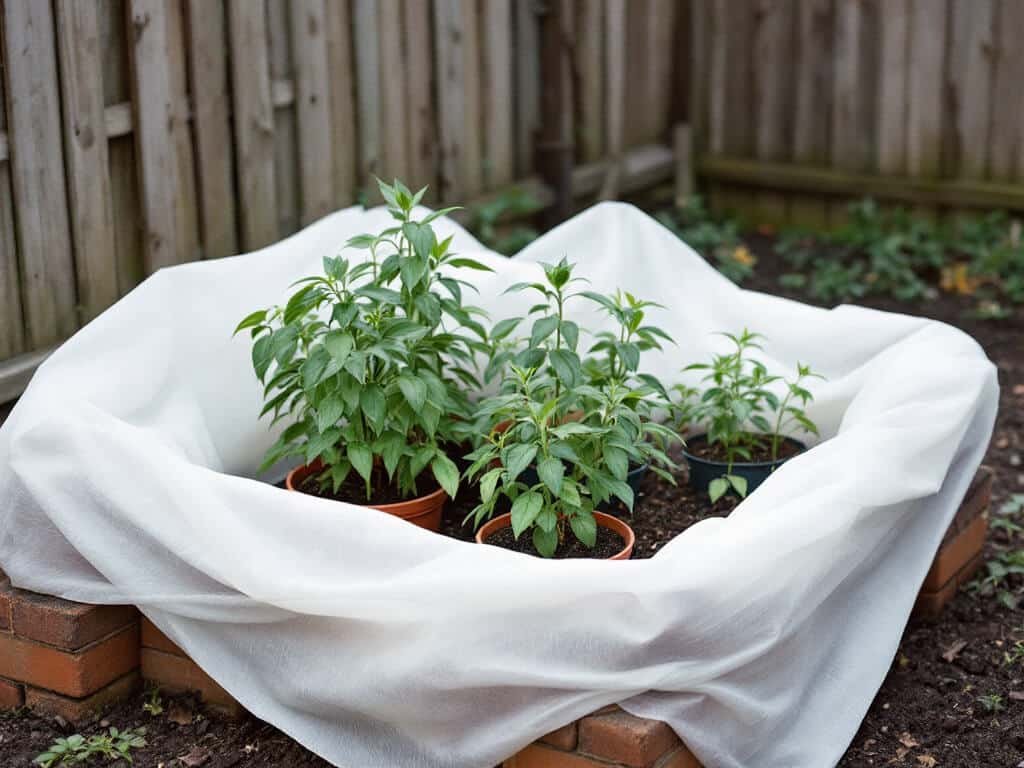
Cold is the one stress you can’t build tolerance to quickly, so use protection on the borderline days. A cold frame, mini-greenhouse, fleece, or plant protector will take the edge off a chilly night or a sharp wind.
Do not leave seedlings outdoors when freezing temperatures are forecast. Bring them inside or put them under solid cover, no matter how far along the schedule you are.
Near the end of the process, seedlings that have been gradually exposed can stay out overnight, but only when no freeze is in the forecast. Keep the fleece or row cover handy anyway.
Transplant after acclimation
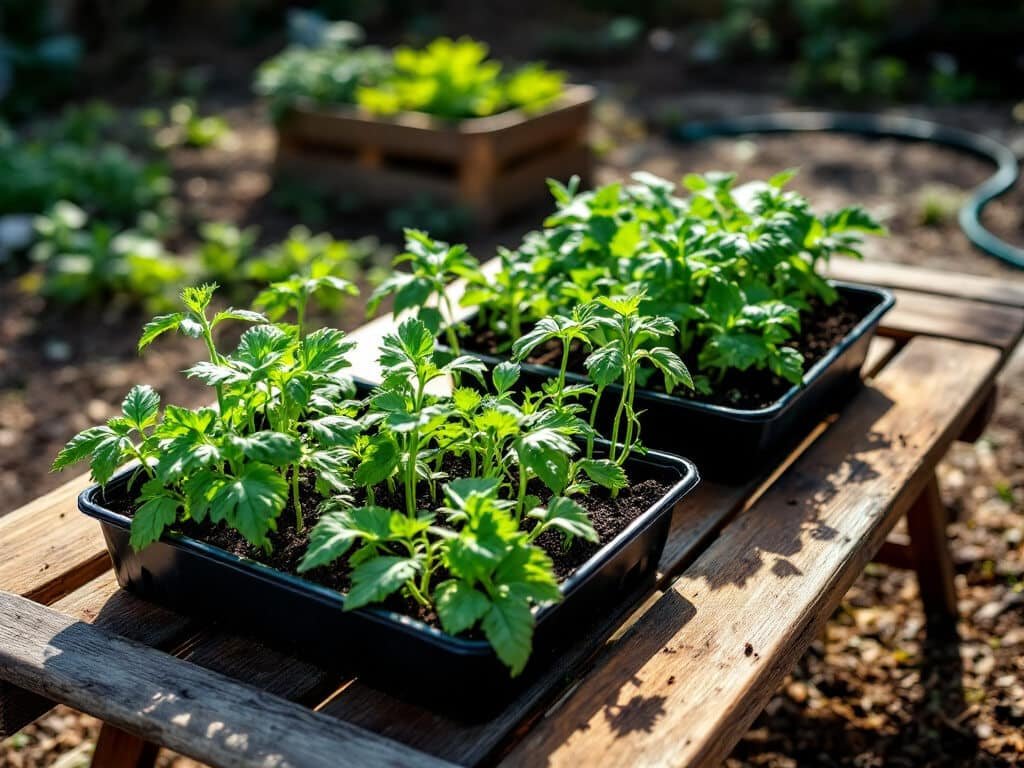
After roughly 10–14 days to two weeks, the seedlings can stay outside in a sunny spot as long as no freeze is forecast. Tender plants may need two to three weeks, so give them longer if the weather has been uncooperative. Then plant, once local frost risk has passed for that crop.
Transplant on a cloudy day or in late afternoon, after the sun has passed its peak. That spares the plants a blast of midday sun while their roots are settling. Row covers after planting cut down on wind and temperature stress.
Prepare the planting soil according to what each crop needs, and water the new transplants in.
Common problems
Sun-scorched leaves. The seedlings got direct sun too quickly. Return them to shade or filtered light and stretch out the move to full sun.
Wind damage or severe wilting. Move the containers to a sheltered spot and increase exposure more slowly.
Cold injury. Bring seedlings indoors or cover them with a cold frame, fleece, or plant protector whenever temperatures might freeze.
Dry containers. Small pots dry out quickly outdoors. Check them daily and water as needed, without keeping the medium saturated.
Plants collapse after transplanting. Plant in the late afternoon or on a cloudy day, and use row covers or other protection to reduce wind and temperature swings.
Growth stalls in a cold greenhouse. Some seedlings want cool conditions after germination, but cold nights can hold them back. Keep growing them under suitable protection until they’re robust enough to harden off.
When to expect results
Hardening off doesn’t have a bloom or harvest date of its own. Germination, flowering, and harvest depend on the crop you’re growing.
What you’ll see is practical. Seedlings that have been hardened off hold their leaves up in the wind, keep their color in full sun, and carry on growing after transplanting instead of sulking. Plan on about two weeks for most vegetable seedlings, and longer for tender plants or a cold, unsettled spring. Weather decides the pace, so let the forecast adjust your schedule.
FAQ
How long does hardening off seedlings take?
RHS guidance recommends 10–14 days for vegetable seedlings. Its broader guidance for tender plants is about two to three weeks.
Can seedlings go straight from indoors into full sun?
No. Start them outdoors in shade or filtered light and increase direct sun gradually. Moving them too fast risks leaf scorch and wilting.
Should seedlings stay outside overnight while hardening off?
Not at first. Bring them in before nighttime temperatures fall. Near the end of the process they can stay out overnight, but only if freezing temperatures aren’t forecast and they’ve been gradually exposed to outdoor conditions.