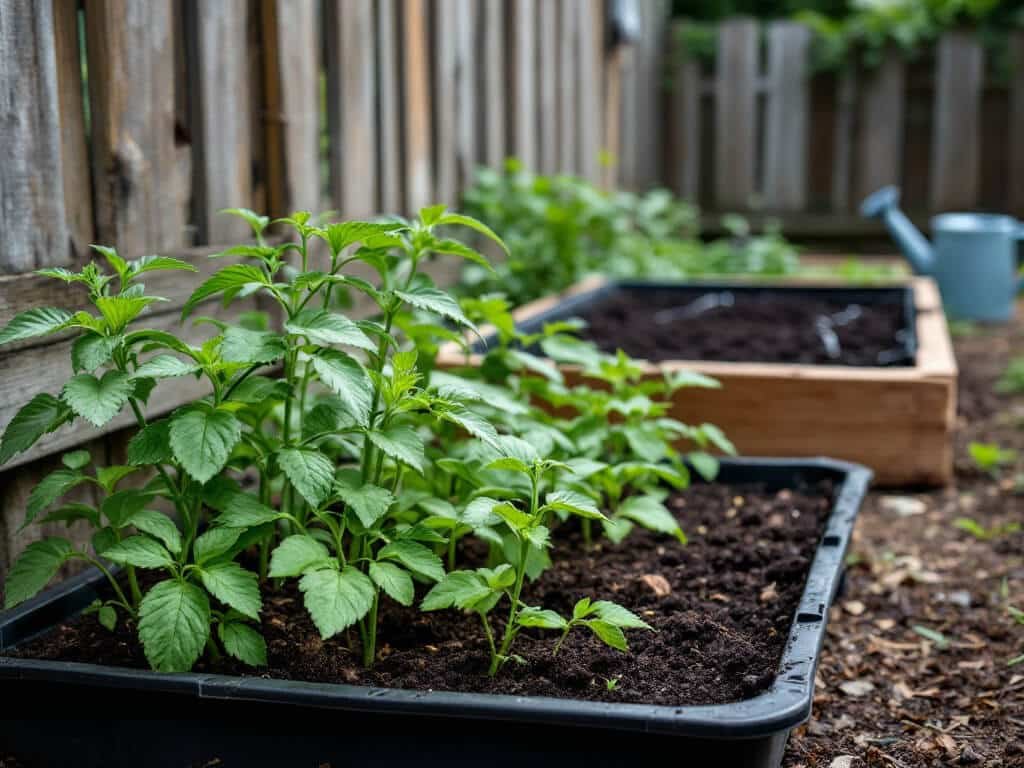
Starting Seedlings Indoors: A Beginner’s How-To
Starting seedlings indoors goes wrong in three predictable places: the sowing date, the light, and the watering. Get those three right and the rest is routine.
The method works for annual vegetables, herbs, and flowers, plus some perennials. There is no zone chart to follow. Your timing depends on your local frost-free date and how well each crop tolerates cold.
One thing to settle up front: a sunny windowsill alone is often not enough. Seedlings that stretch out pale and floppy are usually short on light, and the fix is covered below.
What You Need
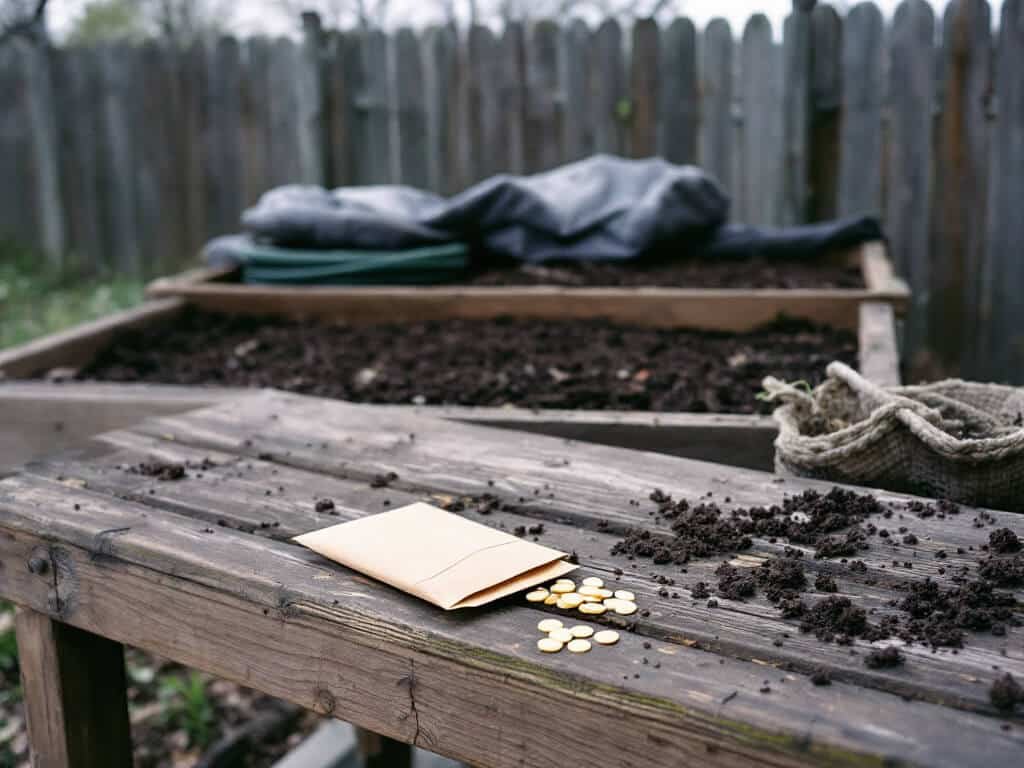
Most of this is cheap, and you may already own some of it.
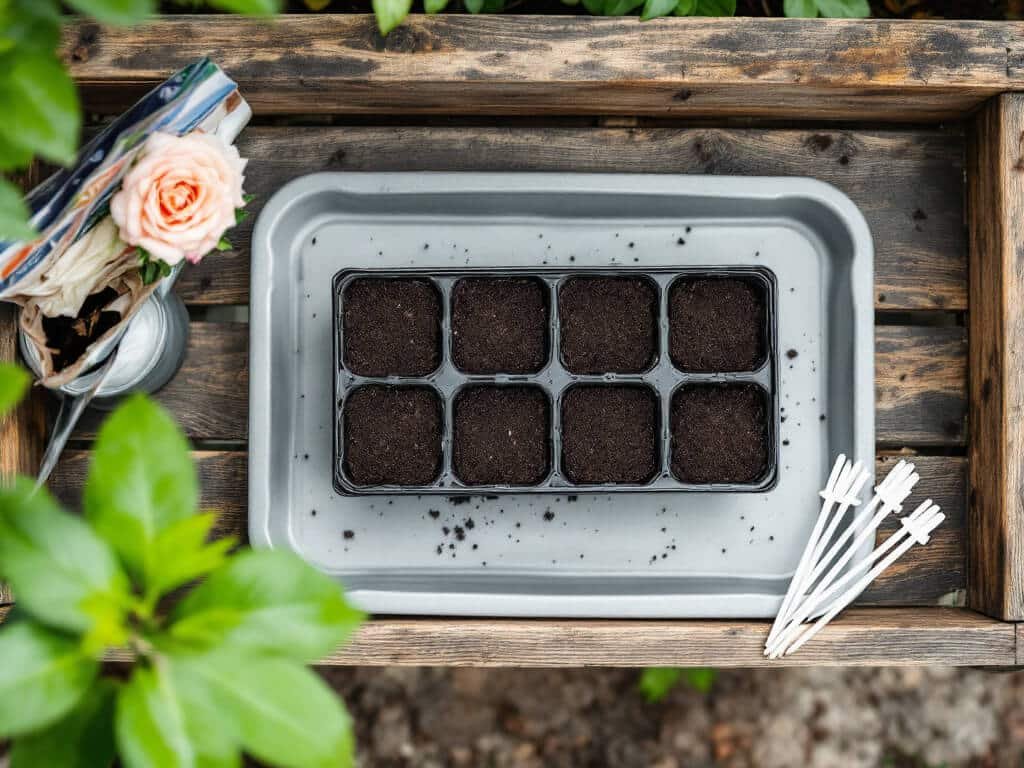
– Seed trays or individual containers, 2–4 inches deep, with drainage holes
– Sterile, well-drained seed-starting mix
– Seeds
– Labels and a waterproof marker
– A fine mister or gentle watering can
– A clear humidity cover or plastic
– Grow lights or a very bright window
– A small fan for air circulation
– A clean tray to catch runoff
The sterile mix matters more than any other item here. Do not use ordinary garden soil indoors.
Choose the Sowing Date
Count backward from your outdoor planting date, using the lead time printed on the seed packet. Many common crops are started 3–8 weeks before they go outside. Your local frost-free date sets the outdoor date, so start there and work back.
The windows vary by crop (the full list is under “When to Expect Results” below). Peppers and tomatoes want a long head start. Cucumbers and squash want a short one.
Write the sowing date for each crop on a calendar before you buy anything. Starting too early gives you leggy, root-bound plants waiting on weather. Starting too late means small plants and a later harvest.
Prepare Containers and Mix
Use containers 2–4 inches deep with drainage holes, and make sure they are clean. Moisten the seed-starting mix before you sow, so the seeds go into damp medium instead of getting flooded afterward.
Individual cells or pots make life easier later. Seedlings in their own cells are simple to thin, and their roots are less likely to tangle.
Set the filled containers on a clean tray to catch runoff. Label every container now, with the crop and the sowing date. Seedlings of different crops look alike for the first couple of weeks.
Sow Seeds at the Correct Depth
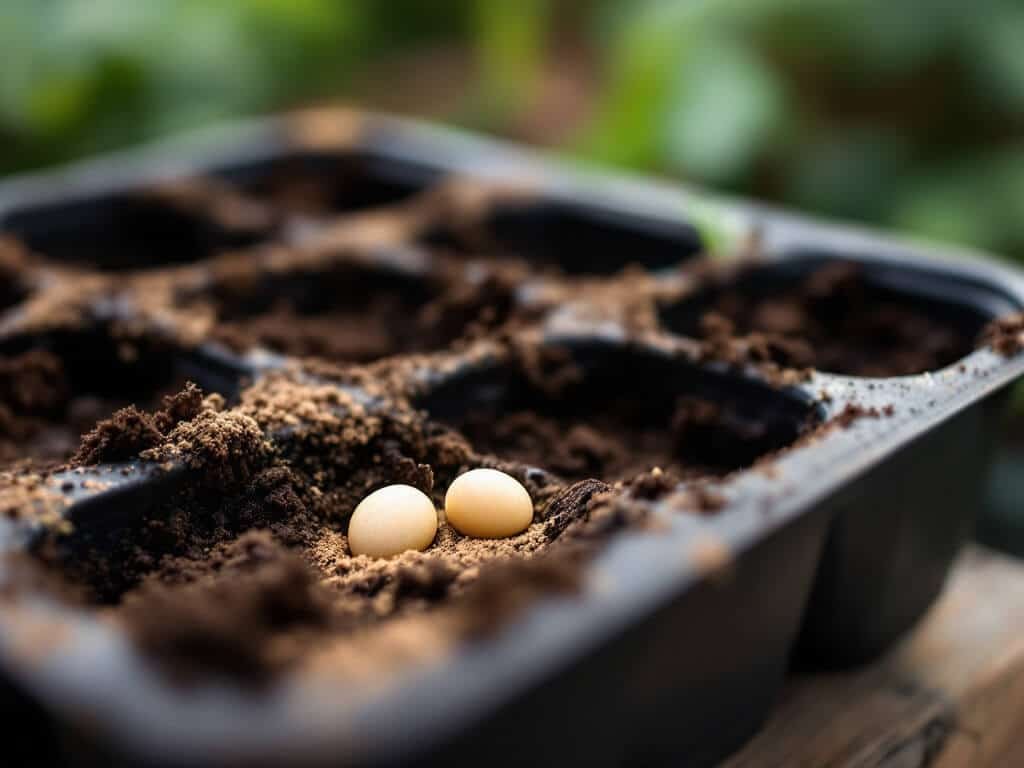
Plant each crop at the depth printed on its packet. That is the first rule and usually the only one you need.
If the packet gives no depth, many small seeds are covered lightly. Some seeds need light to germinate and should stay uncovered. Check the packet for a light requirement before you bury anything.
Sow a few seeds per cell if you like, since you will thin later. Press the seeds in gently and mist the surface so they stay in contact with the mix.
Create Germination Conditions
Keep the mix moist but not drenched, and hold the temperature at roughly 65–75°F. Crop-specific temperatures vary, so the packet outranks this range when the two disagree.
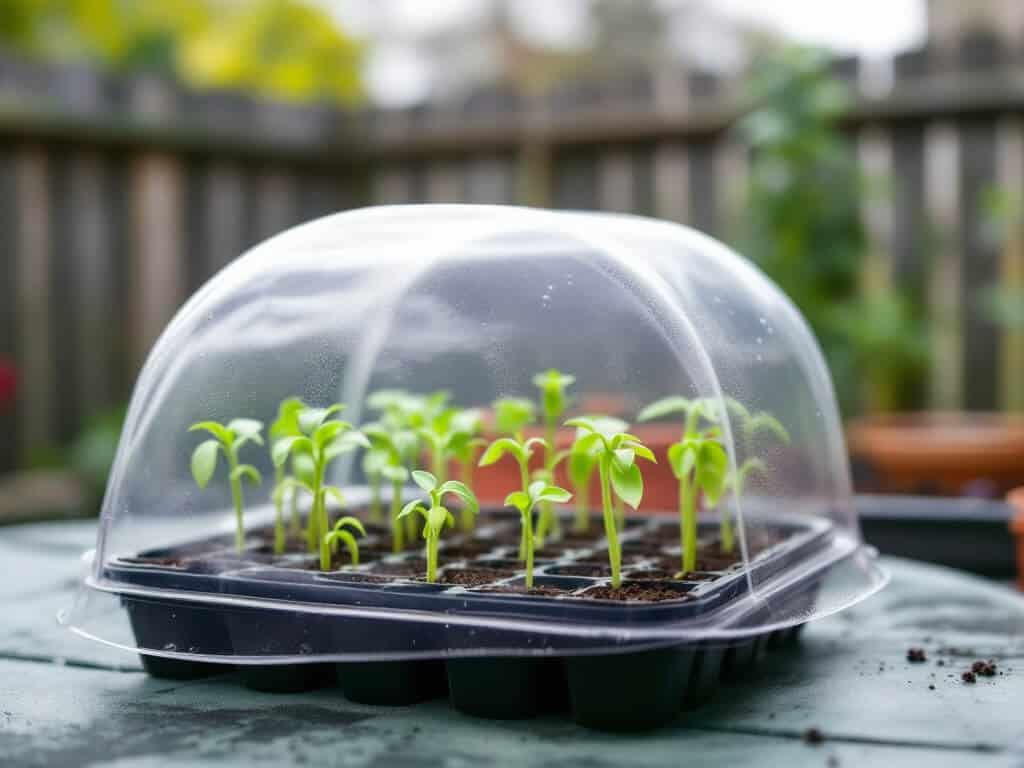
Cover the containers with a clear dome or plastic to hold in humidity. This keeps the surface from drying out before the seeds sprout.
Check the containers daily. If germination is poor, look at the packet again for temperature, depth, and light needs. Also consider whether the seed is old. Viability drops, and some packets simply will not sprout.
Move Seedlings Under Light
As soon as seedlings appear, take off the plastic or dome and put them under bright light. Give them about 12–16 hours of light daily. Leaving the cover on after emergence invites mold and damping-off.
Grow lights are often needed to reach that amount of light. A very bright window can work for some setups, but pale, stretched seedlings are a sign that the light is too weak or too short-lived.
If the seedlings are leggy, increase the light intensity and lengthen the daily light period. Moving the plants closer to the light source is the usual first adjustment. Follow the manufacturer’s guidance for your fixture on distance.
Thin, Feed, and Manage Growth
Once true leaves develop, keep the strongest seedling in each cell or pot and remove the rest. It feels wasteful, but crowded seedlings compete for light and air, and they are more prone to disease.
Hold off on fertilizer until the crop calls for it. Young seedlings can be damaged by too much, so follow the recommendation for what you are growing.
For watering, soak the mix thoroughly when it needs it, then let the surface dry somewhat before the next watering. Never leave it saturated. Run a small fan nearby for air circulation.
Watch the roots as the plants grow. Move crowded seedlings to larger containers before the roots become tangled.
Harden Seedlings Before Transplanting
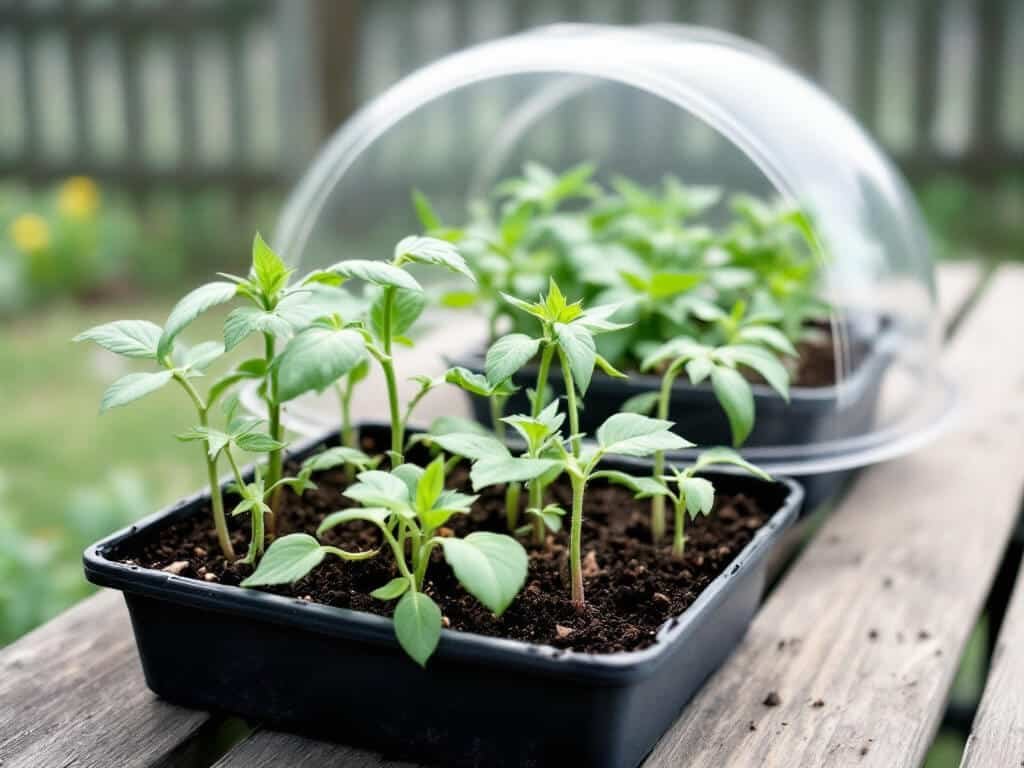
Harden seedlings over 7–14 days before they go into the ground. Start in a protected, shady spot outdoors, then gradually expose them to more sun and wind.
Skipping this step is a common cause of transplant shock. A plant raised under lights and indoor air is not ready for a full day of direct sun and wind.
Transplant only after frost danger has passed and the plants are developed enough for the crop. Water the planting bed first so the soil is already moist. Choose a cool, cloudy day or plant early in the day, which is easier on the seedlings.
Common Problems
Leggy, pale seedlings
This is almost always a light problem. Increase light intensity and provide 12–16 hours of daily supplemental light, since a windowsill alone may fall short.
Damping-off or collapsing stems
Damping-off is the main early disease risk. Cut back on moisture, improve drainage and air circulation, and use sterile seed-starting mix.
Poor germination
Recheck the packet for temperature, depth, and light requirements. Keep the mix evenly moist, and confirm that the seed is still viable.
Mold or algae on the surface
Reduce humidity once the seedlings have emerged, improve airflow, and stop keeping the mix constantly waterlogged.
Crowded or tangled roots
Thin early and use individual cells. Move plants to larger containers once active growth begins.
Transplant shock
Harden seedlings for one to two weeks, and set them into pre-moistened soil on a cool, cloudy day or early in the morning.
When to Expect Results
Germination time varies by crop and by the conditions on the packet, so check each one. Indoor-starting windows before outdoor planting run roughly like this:
– 6–8 weeks: peppers, tomatoes, eggplant, cauliflower, and kohlrabi
– 4–6 weeks: chard, cabbage, Brussels sprouts, broccoli, and lettuce
– 3–4 weeks: cucumbers, squash, melons, and gourds
Hardening takes 7–14 days on top of that. Your harvest window depends on the crop and your transplant date, so use the days to maturity on the seed packet to plan it. Outdoor planting should follow the crop’s frost tolerance and your local frost-free date.
FAQ
When should seeds be started indoors?
Count backward from your expected outdoor planting date, using the lead time on the seed packet. Your local frost-free date and the crop’s cold tolerance matter more than any universal calendar date.
Do seedlings need a grow light?
Often, yes. Once seedlings emerge, they generally need 12–16 hours of bright light each day, and supplemental lighting can prevent weak, stretched growth.
How long should seedlings be hardened off?
Plan on about 7–14 days. Begin in a protected, shady location and gradually increase their exposure to sun and wind.