
How to Grow Swiss Chard in Pots
Learning how to grow Swiss chard in pots comes down to three decisions: a pot deep enough for the roots, a mix that holds moisture, and how tightly you space the plants. Get those right and the rest is watering, watching for slugs, and picking the right leaves. Chard is a cool-season leafy vegetable, usually grown as an annual, and it suits containers well.
One caveat up front. The sources behind this guide don’t give reliable USDA zone ranges or a germination time in days, so I won’t invent either. Winter survival in a pot depends on your local conditions and how sheltered the spot is.
What You Need
Most of this you may already have. The pot is the one item worth choosing carefully.
What you need:
– A container at least 10 inches deep, with drainage holes
– Quality container compost, or a rich, moisture-retentive, well-drained potting mix
– Swiss chard seed or young plants
– A watering can with a fine rose, or a hose with a gentle spray nozzle
– A hand trowel
– Labels and a pencil
– Optional: floating row cover, for protection from cold weather and insects
If you’re growing more than one variety in the same pot, label them. Chard stems come in different colors, but young seedlings are hard to tell apart.
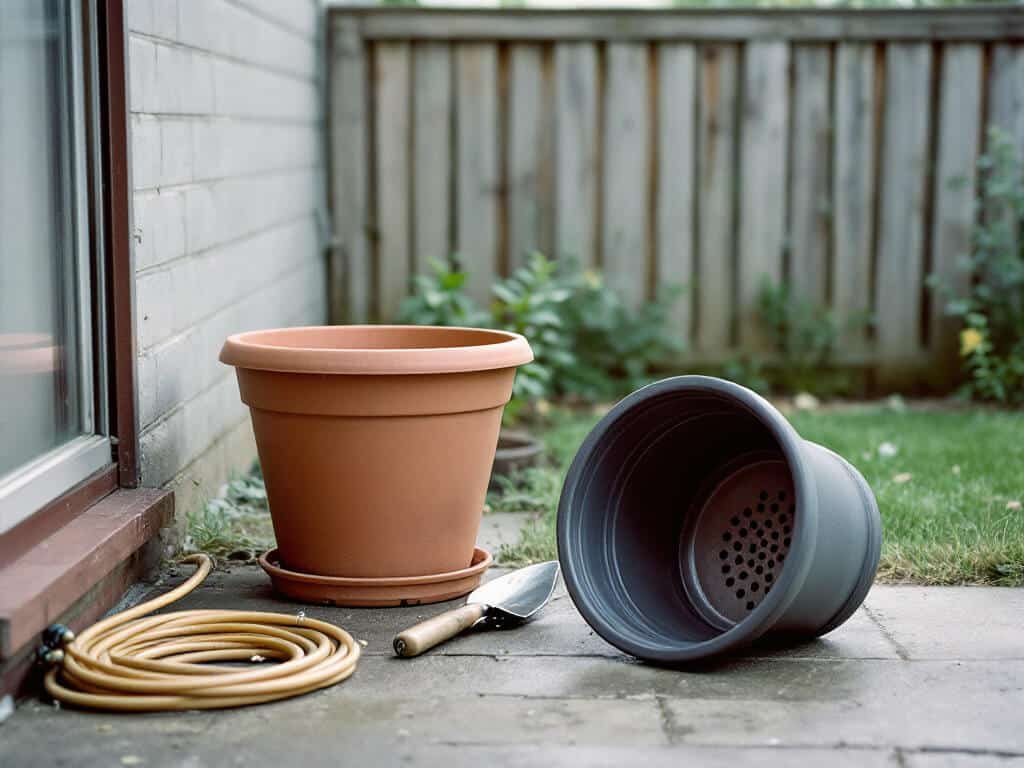
Choose a Suitable Pot
Use a pot at least 10 inches deep. That is the number to hold onto, because a shallow container dries out faster and gives the roots less room. Width matters too, since it decides how many plants you can fit at your chosen spacing, but depth is the minimum to check first.
Make sure the pot has drainage holes. Chard likes moisture, but it wants a mix that is moist and well drained, not sitting in standing water. If a decorative pot has no holes, use it as a sleeve around a plain pot that does.
Place the pot in a sunny, sheltered spot before you fill it. A full container is heavy, and you’ll be tempted to leave it wherever it lands. Chard prefers a sunny, open site, so pick the location with that in mind.
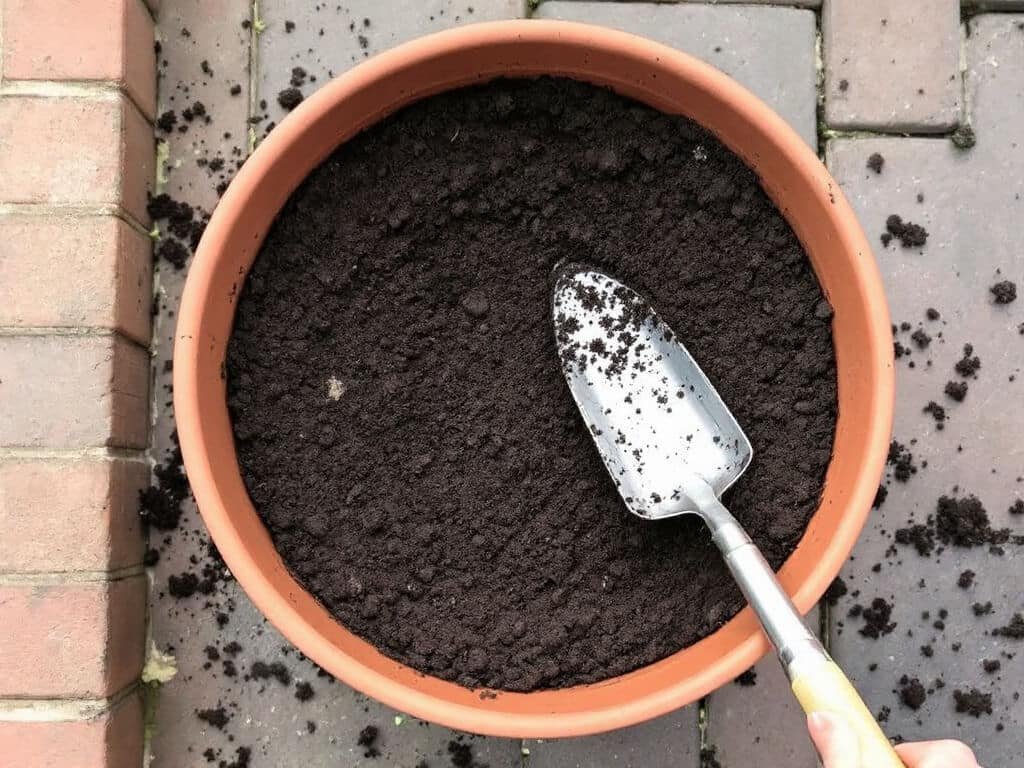
Fill the Container With Potting Mix
Fill the pot with compost or potting mix to within about 1 inch of the rim. That gap is your watering reservoir. Without it, water runs over the edge and across the surface instead of soaking in, and you end up with a dry pot that looks watered.
Chard does best in rich, fertile, moisture-retentive, well-drained growing medium. Look for a quality container compost or a good potting mix, and skip bagged material that feels thin, dusty, or full of sticks. Dry-looking mix straight from the bag is easier to use if you wet it a little first and let it settle.
Press the surface lightly flat with your hand. You don’t want it packed hard, just level enough for even sowing.
Sow Swiss Chard Seeds
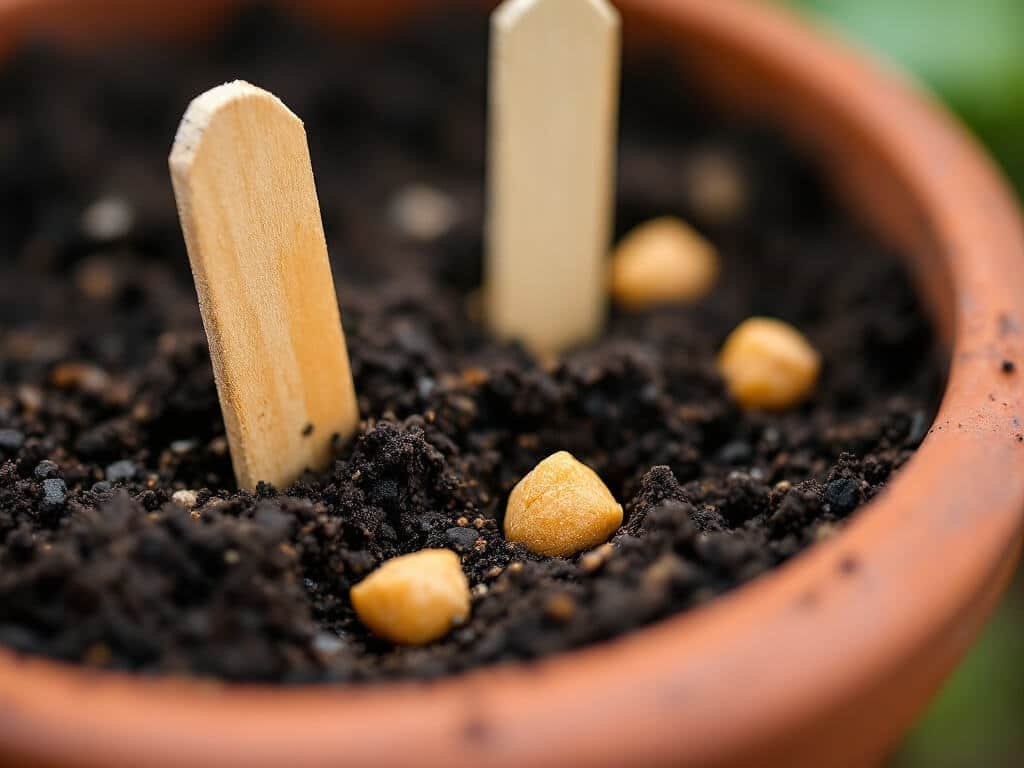
Sow seeds about ½ inch deep. For a dense container planting, start them about 1 inch apart. That is closer than the final spacing, and on purpose: you’ll thin to the spacing you want in the next step, which gives you backup if a few seeds don’t come up.
Poke the holes with a pencil or the tip of your trowel, drop in the seed, and cover with mix. Label the pot with the variety and the sowing date. The sources didn’t give a verified germination time, so the date is how you’ll keep track of when harvest should start.
If you’re starting with young plants instead of seed, skip the thinning step. Set them at the final spacing you want from the next section, either 2–3 inches for small dense leaves or 4–6 inches for larger plants.
Water gently right after sowing, using the fine rose or a soft spray so the seeds stay put and don’t wash into a clump.
Thin the Seedlings
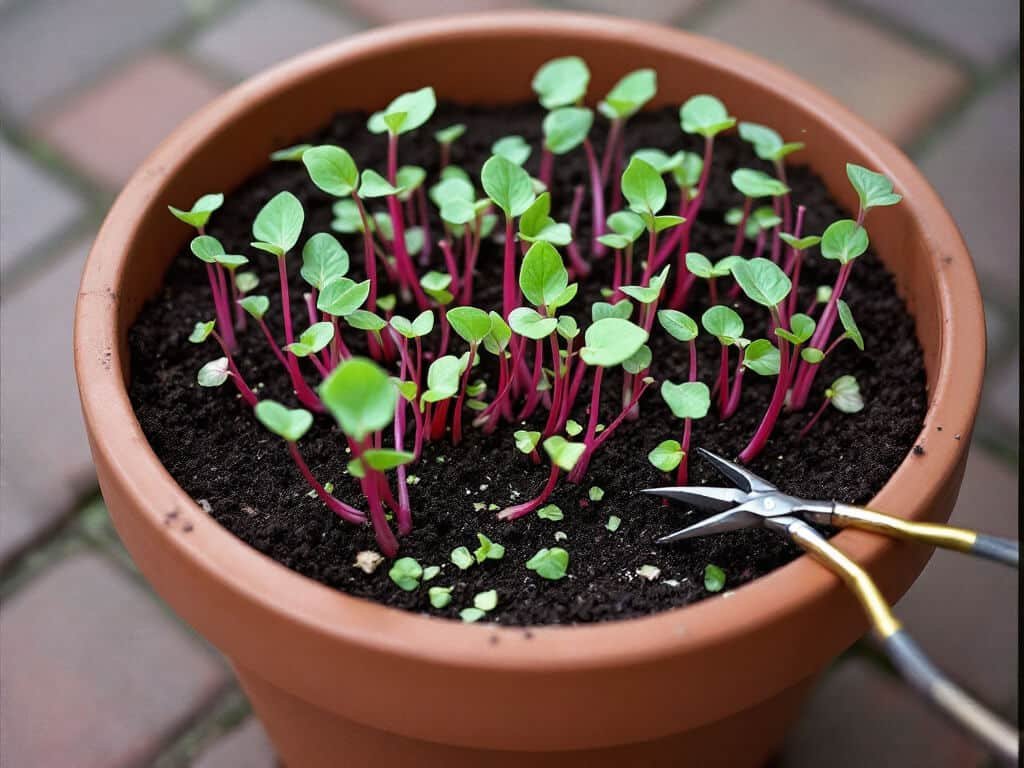
Once the seedlings are up, thin them to 2–3 inches apart for small, dense leaves, or 4–6 inches apart for larger plants. Pick the spacing based on what you want to eat. Close spacing suits a pot you’ll harvest young for tender leaves. Wider spacing gives each plant room for bigger leaves.
Thinning feels wasteful, but crowded chard doesn’t do well. Crowding cuts air circulation, and the brief ties poor air movement to mildew and gray mold in humid weather. It also leads to small harvests, because plants without room produce smaller leaves.
Pinch or snip the extra seedlings at the soil line instead of pulling them. Pulling can disturb the roots of the plants you’re keeping. Do it when the mix is moist so the remaining seedlings stay settled.
Water and Position the Pot
Keep the mix consistently moist from sowing onward. Chard prefers moisture-retentive conditions, and a container that swings between soaked and bone dry gives you wilting and poor growth. Check the pot often with a finger pushed into the mix, and water before it dries out completely.
Water the soil, not the leaves, where you can. Foliage that stays wet in humid weather invites mildew and gray mold. A watering can with a fine rose lets you aim low and keep the flow gentle.
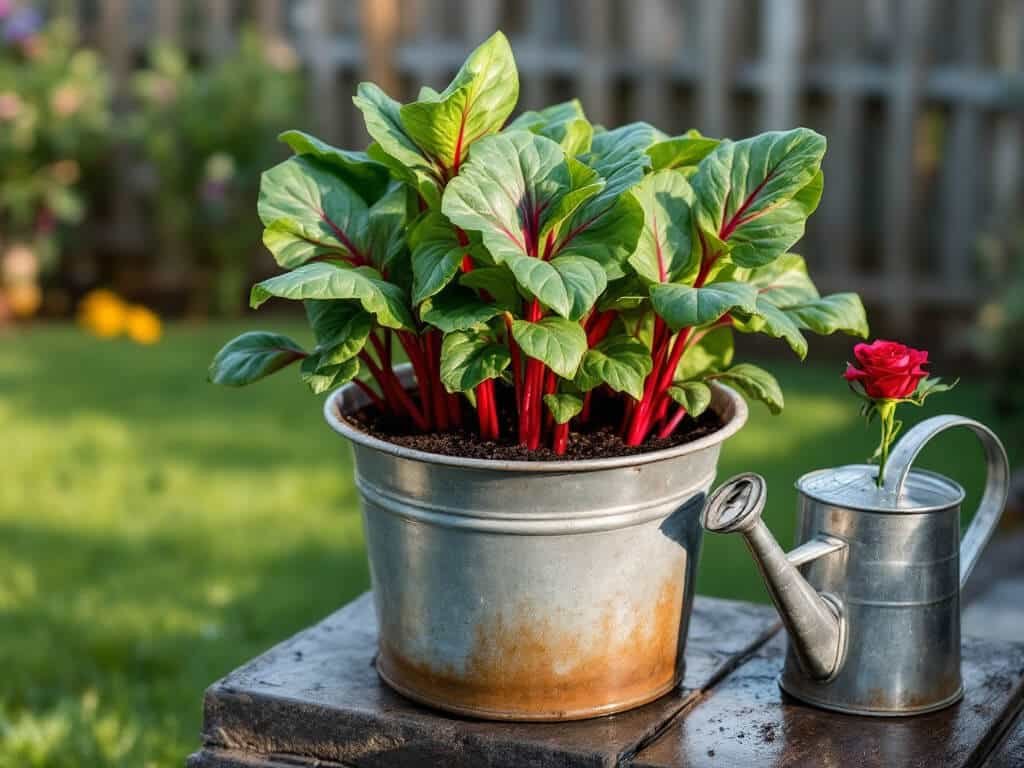
Position matters as much as watering. Chard prefers a sunny, open site, though it tolerates light shade. If plants get leggy or weak, move the pot somewhere sunnier. Open also means air can move around the plants, so don’t wedge the pot into a corner against a wall or behind other containers.
Protect the Plants From Pests and Disease
Slugs are the main pest to watch for. Check the pot regularly, especially around young seedlings, and use an appropriate slug control or a physical barrier. Early checks matter most, since seedlings have little leaf to spare.
Mildew and gray mold can show up in humid weather. Your best defenses are the ones you’ve already set up: don’t overcrowd the pot, keep air moving around the plants, and avoid leaving the foliage wet. If a leaf is clearly affected, take it off rather than leaving it on the plant.
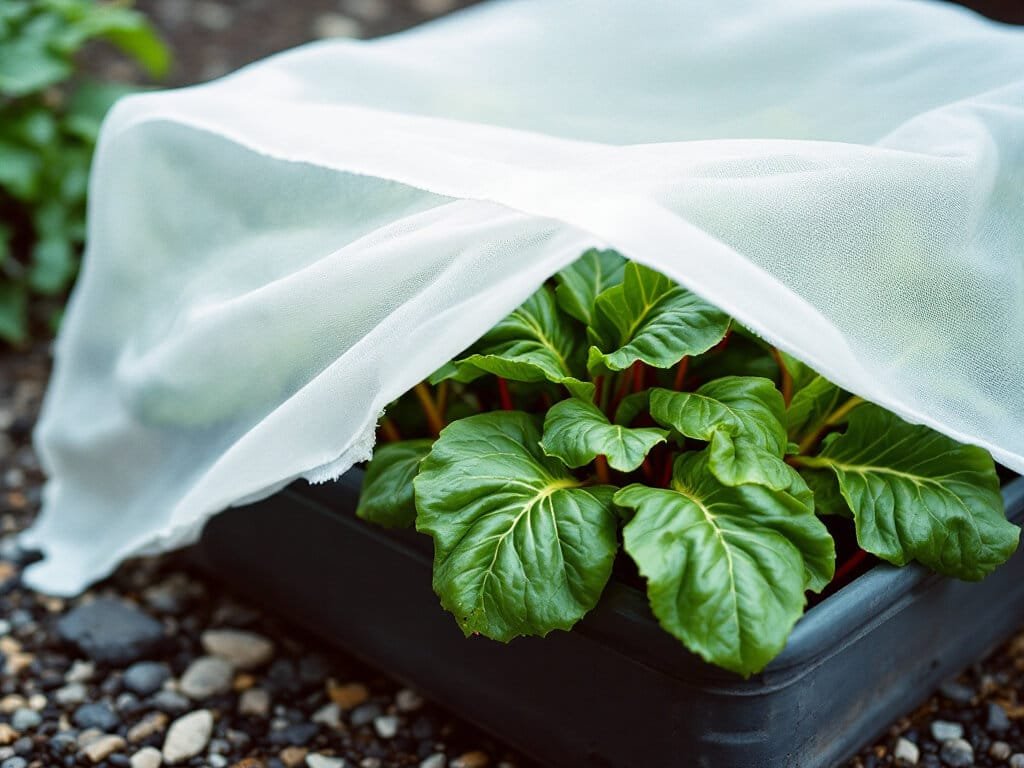
A floating row cover is optional, but it earns its place when cold weather or insect damage is a concern. Drape it over the pot and secure the edges. Take it off or lift it when you need to water, harvest, or check for slugs underneath.
Harvest the Outer Leaves
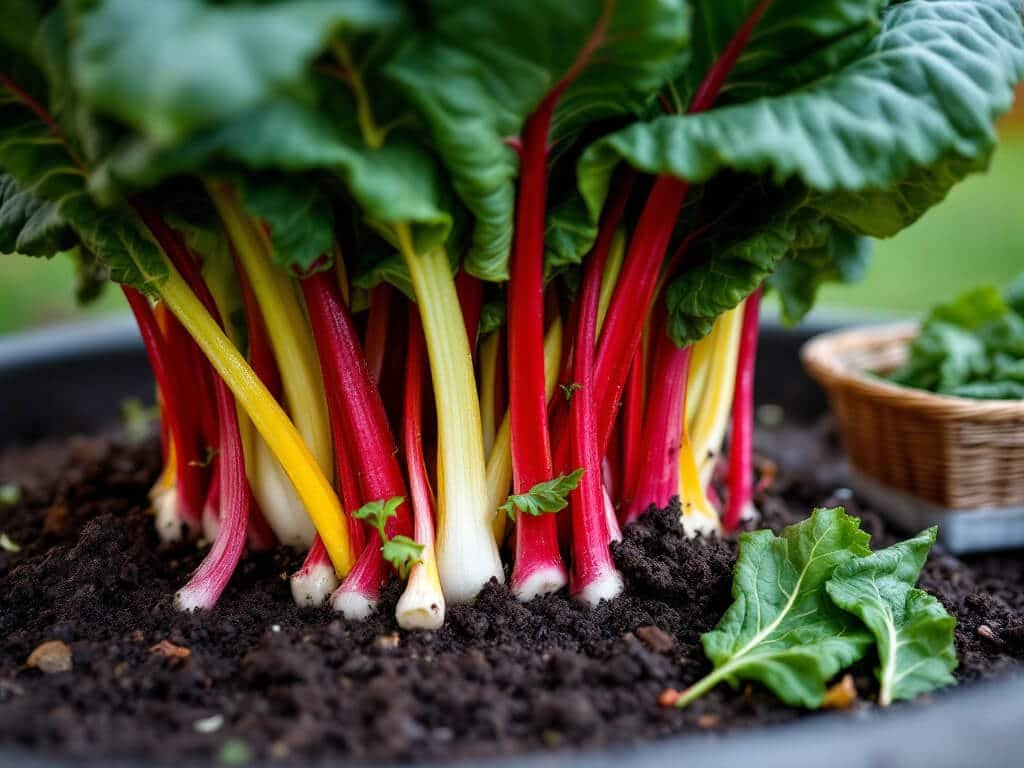
Start picking when the leaves are a usable size, often 8–10 weeks after sowing for smaller leaves. Take the outer leaves, cutting or snapping them off at the base, and leave the young center leaves alone so they keep growing.
Don’t cut the whole plant at once. Taking outer leaves keeps the plant producing, while removing the entire plant ends the harvest from that spot. Regular picking can extend your harvest well beyond the first cutting.
A small pot won’t give you a huge pile in a single picking. Plan on frequent small harvests, a few leaves at a time, rather than one big cut. Give each plant the spacing you chose earlier, because plants with enough room to reach their intended leaf size give better pickings.
Common Problems
Most chard trouble in pots traces back to light, water, or spacing. Here is what to check.
– Leggy or weak growth: Move the pot to a sunnier spot. Chard prefers an open, sunny site.
– Wilting or poor growth: Water consistently and use a moisture-retentive mix. Don’t let the container dry out repeatedly.
– Crowded seedlings: Thin to the recommended spacing. Crowding also cuts air circulation.
– Slug damage: Inspect plants regularly and use an appropriate slug control or a barrier to protect seedlings.
– Mildew or gray mold: Improve air circulation, avoid persistently wet foliage, and don’t overcrowd the pot.
– Small harvests: Give plants enough space for the leaf size you want, and pick outer leaves instead of removing the whole plant.
When to Expect Results
The sources didn’t give a verified germination time in days, so watch the pot and use your sowing label as a reference point. The harvest timeline is better documented.
– First small harvest: About 8–10 weeks after sowing.
– Regular spring harvest: About 12 weeks after sowing, for spring sowings.
– Continued production: Regular picking can extend the harvest. A sheltered container may survive a mild winter and produce again in spring.
That last point depends on your climate and how protected the pot is. Where winters are hard, treat chard as an annual and don’t count on it coming back.
FAQ
How deep should a pot be for Swiss chard?
Use a container at least 10 inches deep, with drainage holes.
How far apart should Swiss chard plants be in a pot?
Thin seedlings to about 2–3 inches apart for a dense planting, or about 4–6 inches apart for larger plants and leaves.
How long does Swiss chard take to harvest?
Small leaves may be ready about 8–10 weeks after sowing, while spring sowings may take about 12 weeks for regular harvests.